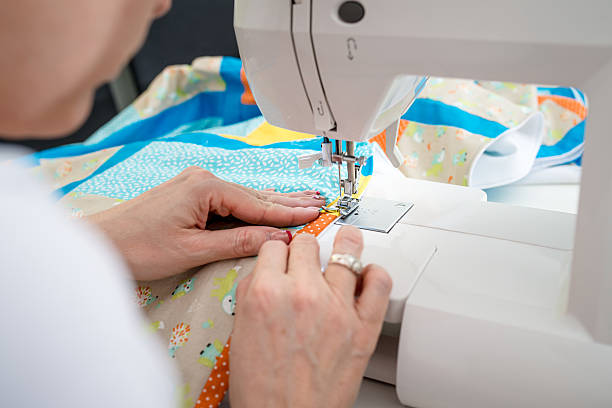
Quilting with a sewing machine isn’t an impossible task since quilting and sewing machines are mostly similar. The truth is, they are both sewing machines.
However, you may find this quite difficult if you are a beginner since sewing machines do not have specific features designed for quilting, nor can they be used to quilt many designs beyond a few basic ones.
But don’t worry, just because you are a new quilter doesn’t mean you can’t quilt on a sewing machine.
Here’s how to quilt your first quilt with a regular sewing machine.
Step 1: Pick a good needle
Make sure you choose a sharp needle and a needle with a big eye to allow the thread to pass through easily. In case you’re not sure which needle is perfect for quilting, you should search the internet or purchase quilting needles from stores.
Step 2: Types of threads to use
Quilting threads are made from wool, silk, cotton, flax, and jute, or synthetic fibers like metallic, polyester, and nylon. Among them, cotton, metallic, and rayon are the most popular machine quilting threads. Hence, you can pick any of these threads.
As for the colors, choose something that blends well with the quilt surface so the viewer’s attention is focused on the fabric and designs.
Step 3: Choosing the right fabrics for quilting
For new quilters, selecting the right fabric is critical to achieving the best results. For example, you can use batiks and cotton because they are higher thread count fabrics.
They have a slim, very acute point that helps the needle slide between fabric threads and produces better results.
Things a beginner should do before starting quilting on a sewing machine
- Purchase rubber fingertips or sewing/quilting gloves
A pair of quilting gloves gives you a good grip on the fabric so it won’t slip from your hand. If you can’t find quilting or sewing gloves, rubber fingertips will do as well. You can find them in many local stores for only a few dollars.
- Attach a walking foot
The walking foot is necessary when machine quilting because it prevents the layers of fabrics from shifting, walking you through the fabrics during the quilting process.
- Add a guide bar or use the existing one
A guide bar is used to keep quilt lines straight. Another use of guide bars is to calculate the distance when quilting borders or multiple lines so that each line has the same distance. They are also used to divide quilt blocks into equal parts.
- Adjust feed dogs
Feed dogs are metal teeth-like ridges that emerge from a hole in the throat plate of a sewing machine. Feed dogs move as you sew, gently gripping the bottom fabric to help it pass through the sewing machine. However, you can only quilt straight lines with it. Therefore, lowering the feed dogs will allow you to move the fabric as you see fit.
- Make a quilt sandwich
In this process, you will have to add multiple layers of fabric to one another like a sandwich and baste them with safety pins to prevent puckering while stitching.
- Mark sewing lines
This isn’t very important, but if you are a beginner it can help a lot. To avoid unnecessary mistakes while quilting, mark the sewing lines with a quilting or dress-marking pencil. This can greatly simplify your quilting process.
Things you shouldn’t do
- Don’t let your quilt fall under the table: Because quilts are heavy, if you let your quilt fall, it may get stuck on the table’s edges. This will disrupt your quilting and may even result in the quilt being damaged. Be careful about this.
- Avoid inaccurate cutting
- Don’t skip the basting (sandwich) part
Steps to follow for beginners when quilting with a sewing machine
Straight Line Quilting
Step 1: Draw a straight line with a quilting or dress marking pencil using a long quilting ruler from edge to edge of the quilt. For multiple lines, do the same thing repeatedly.
You can mark the quilt from top-to-bottom and left to right to make a pattern like this.
The marking pencil will make a colored line as a sewing guide and will wash away upon the first washing of the quilt.
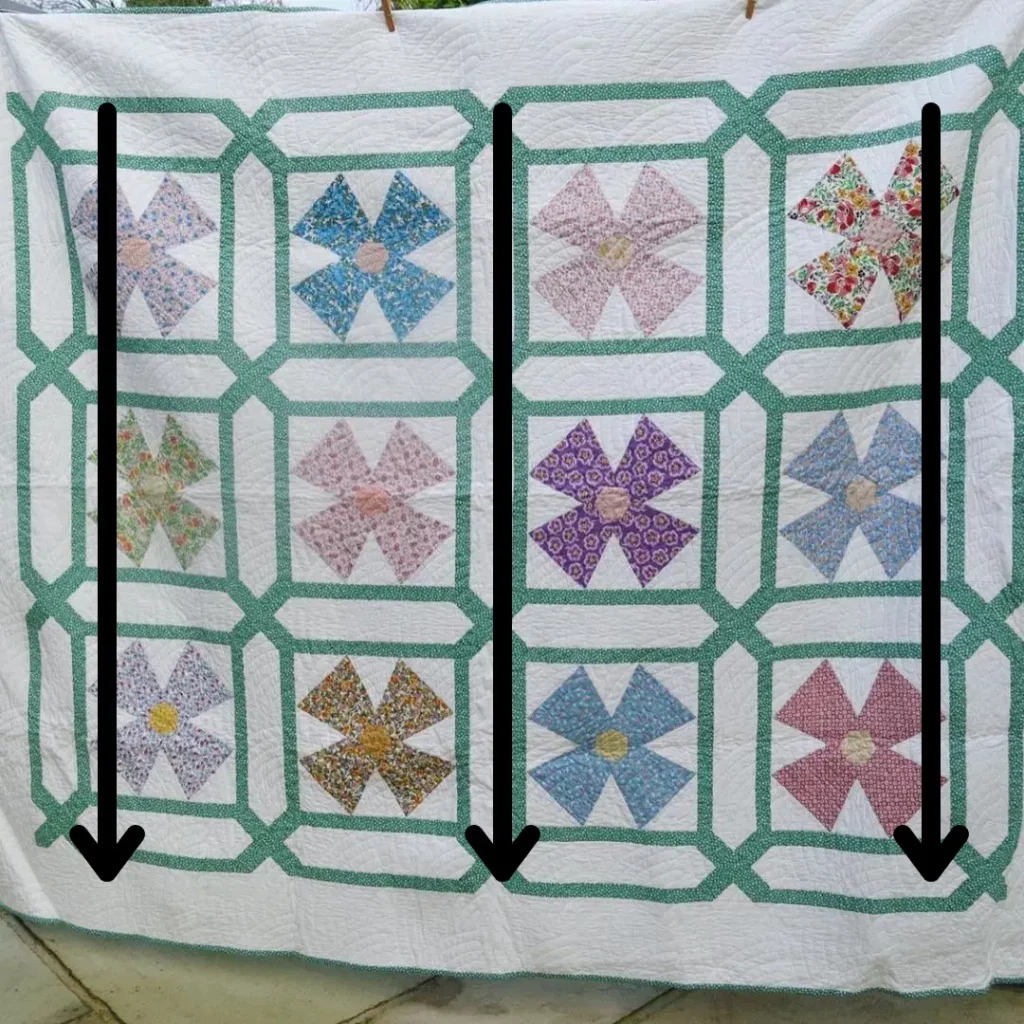
Step 2: Once the lines have been drawn, take the quilt to the sewing machine. Make sure one half of the quilt is rolled towards the center line to fit through the machine. That’s because sewing machines have smaller workspace and the whole quilt won’t fit there.
Step 3: Now use the sewing machine to stitch along the marked lines easily!
The stitching must be started from the center. Otherwise, the quilt will get wrinkles or tucks. It is recommended that you finish one line at a time and remove only those pins that interfere with stitching.
Quilting Cross ‘’X’’ Lines
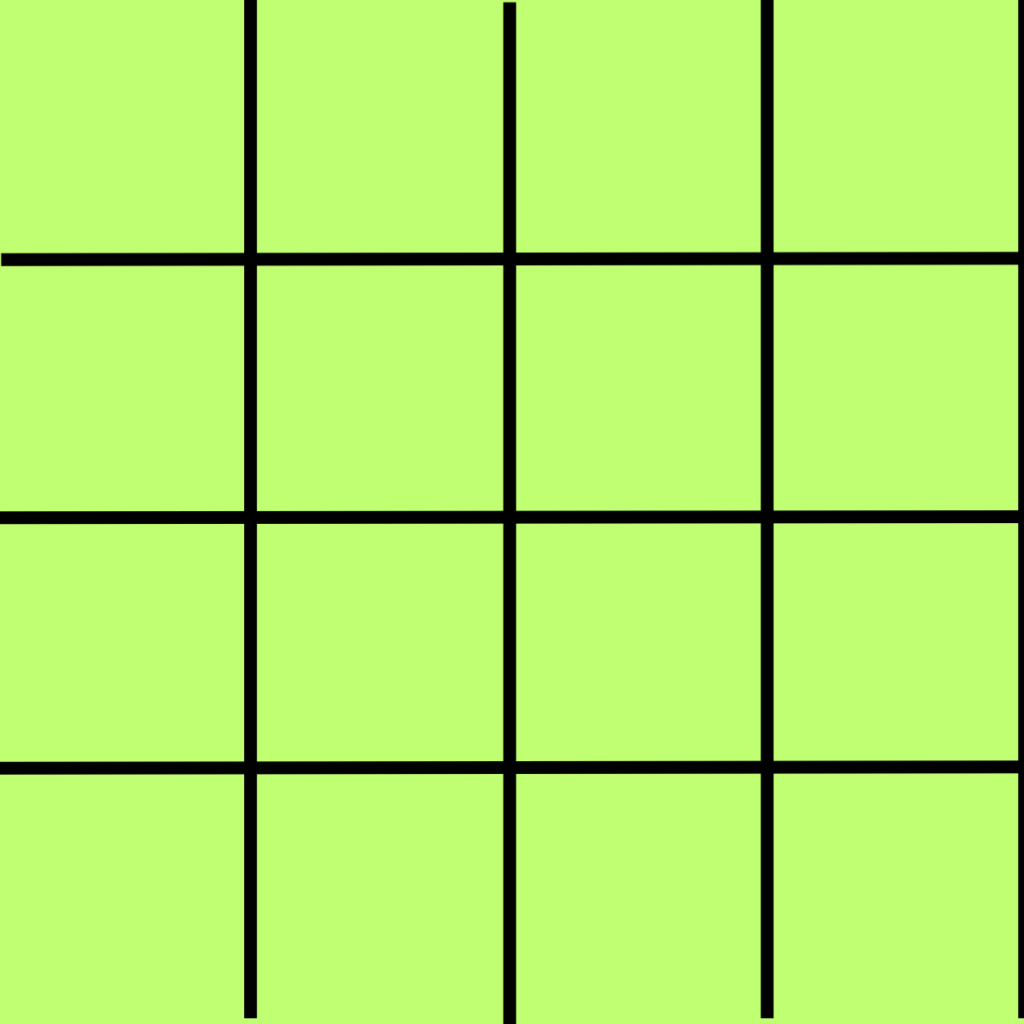
Step 1: To make the ‘X’ on each block, you will have to draw lines first because it’s a tough part. If the measurements aren’t right, the ”x” lines won’t match or fit each block in the same way.
So you will have to use a long quilting ruler and make a grid pattern with the same distance between each line vertically and horizontally as shown in the ”straight line quilting” method.
Step 2: You will now need to draw an ”X” on each block using the ruler as shown in the image below.
Keep drawing lines in this direction, and then go for the next step.
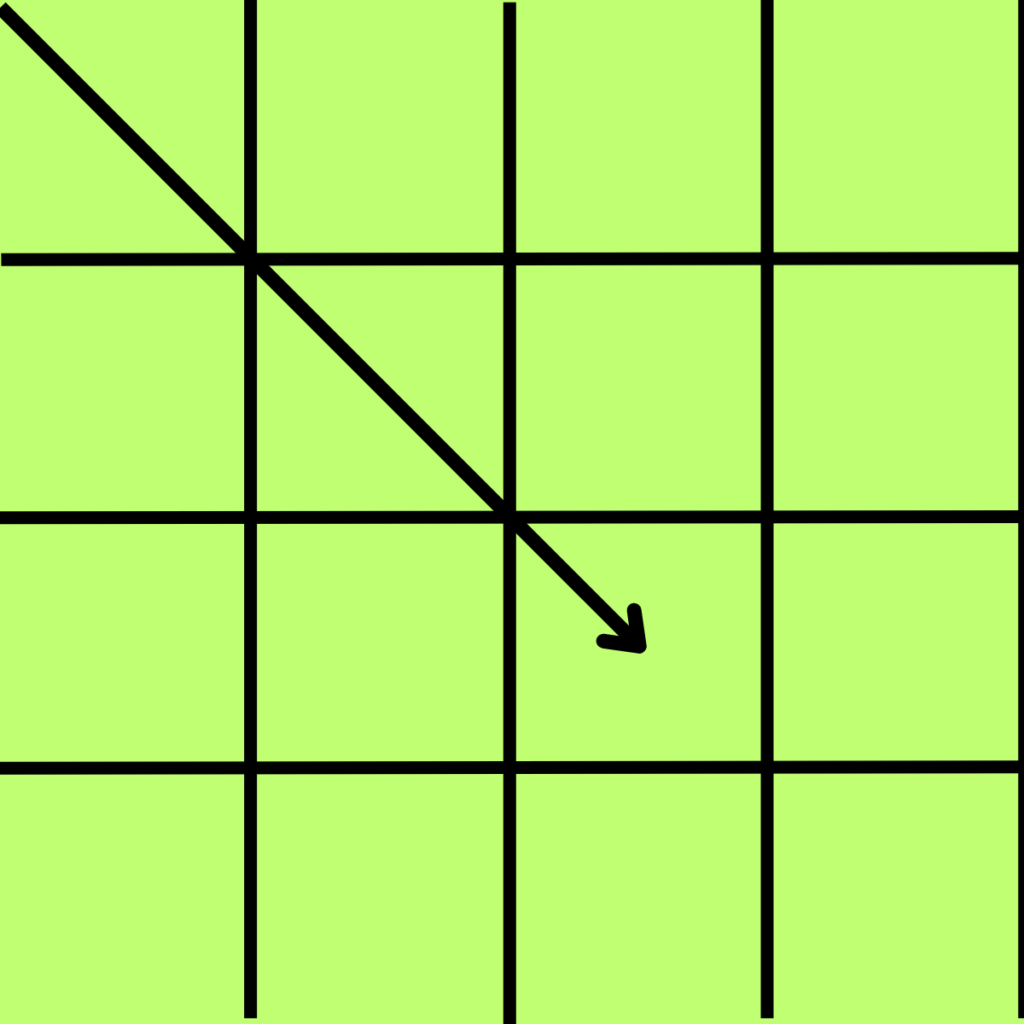
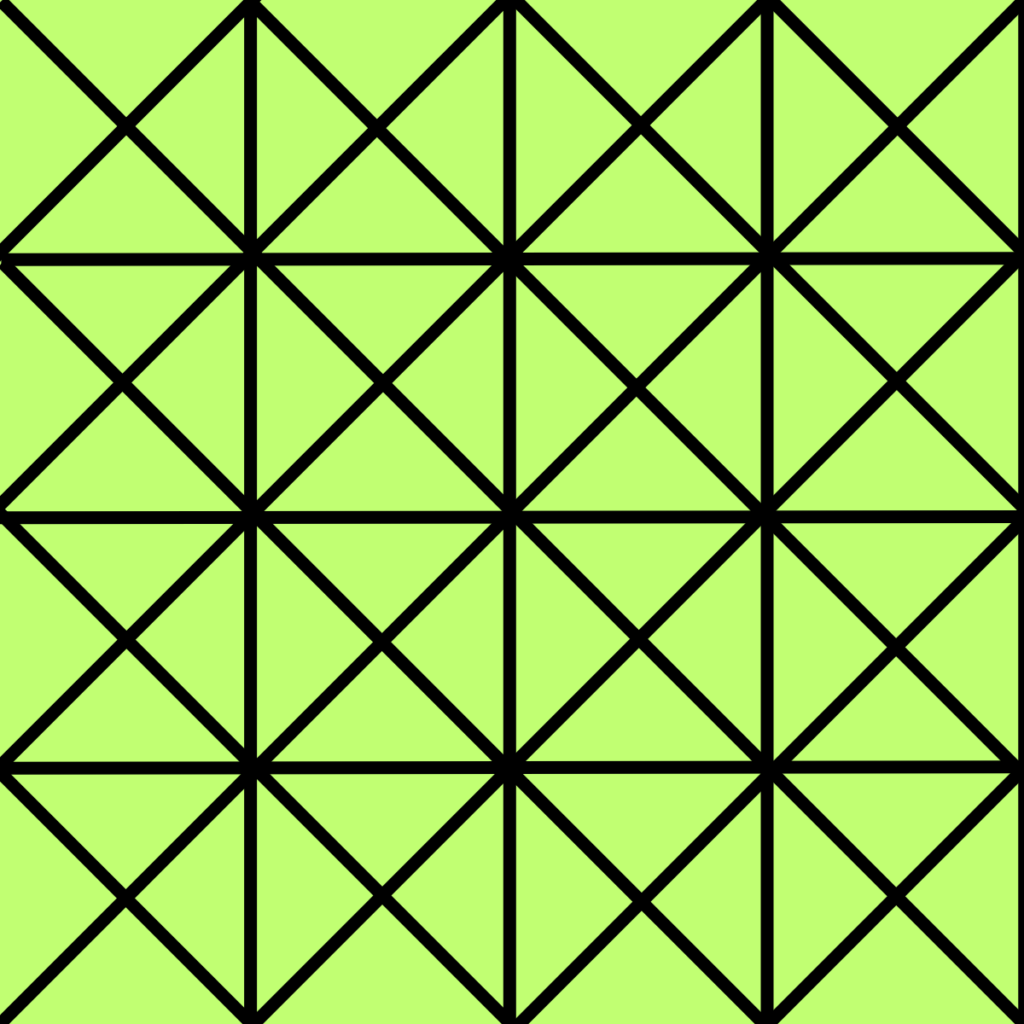
Step 3: Follow the same method but in the opposite direction as shown below.
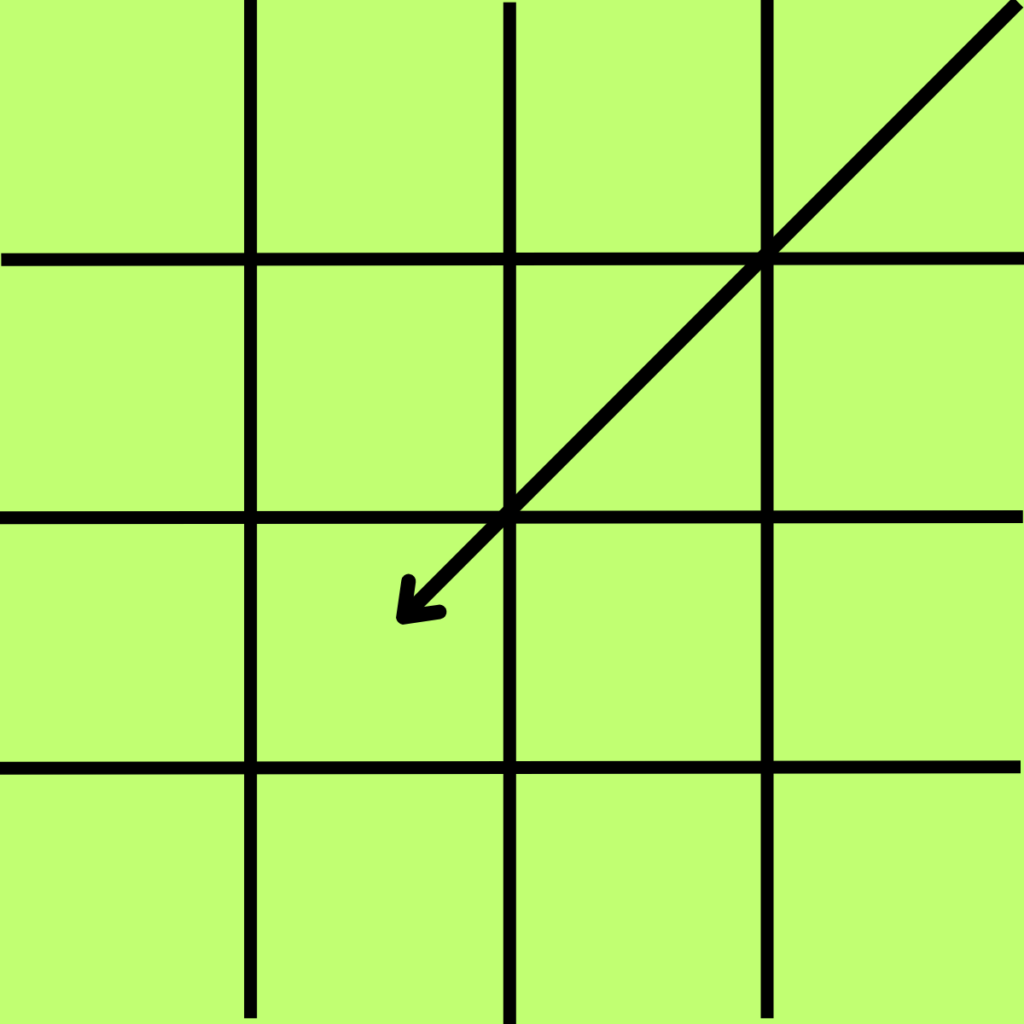
This is how the pattern will look once it is finished.
Step 4: Now that you have a pattern, you can follow it and stitch without making any mistakes.
Just remember to start in the center and work from the center to the other side of the quilt.
Adding a Border
Step 1: Measure your quilt from top to bottom from 3 sides as shown in the image below. The result will be more accurate if the measurement is taken from three sides.
Leave 1-2 inches when measuring because the quilt edge might be wavy or uneven and if they are, then cut the edges and make them straight after measuring the quilt.
Step 2: Cut the border fabric to the same measurements as the quilt. After this, lay the fabric on the edge of your quilt, ensuring that no part of the quilt edge remains uncovered. Use safety pins to attach the fabric to the quilt.
Step 3: It’s time to sew the borders! Use your sewing machine to sew the quilt and border fabric edges together.
For the other edges, do the same thing, and the borders will be added successfully.
Moving To The Next Level
As you quilt, you will gain more experience. Eventually, you’ll want to take your quilting to the next level and that’s free motion quilting.
If you’re using a regular sewing machine, free-motion quilting is a little more challenging. The odds aren’t in your favor, but it’s not impossible either!
For free motion quilting, you simply need to lower your feed dogs and adjust the walking foot so that you are able to have full control over the fabric as you are quilting it. In this way, you can move the fabric in any direction and create any pattern or design you like.
If you still don’t get it, then here is a guide to Free Motion Quilting on a regular sewing machine. Just follow the steps and you will be good to go.
Leave a Reply