Baby quilts are a great way to show love to a newborn. They are perfect for keeping a baby warm or adding a special touch to the nursery. They also make beautiful keepsakes that can be cherished for years to come.
But the question is how to quilt a baby quilt?
Don’t worry, I’m here to show you that step by step. So let’s get started!
Step 1: Make the top of the quilt
The first step in the making of a quilt is to join the fabric pieces together to make the top. For this, you can use leftover fabrics or charm packs (pre-cut fabrics), which can be found at sewing supply stores.
No matter which one you use, you will have to join them anyway. Here’s how to do it.
Note: Most of you already know how to do that, but I added this part in case there is a beginner trying to make a quilt. You can skip this step if you have already finished the quilt top.
Step 2: Make a quilt sandwich
The second step is to make a quilt sandwich. This involves taking your quilt’s backing, batting, and top, and turning them into a sandwich.
In concept, it’s pretty simple, but it can feel tricky to get all three layers smooth and free of wrinkles.
In order to avoid wrinkles or tucks, you will need to pin-baste your quilt with safety pins. Safety pins are used to attach the sandwich together.
Here is a complete tutorial for pin-basting a quilt.
Step 3: Stitch your quilt to create a pattern
As soon as the sandwich part has been completed, you will need to proceed to the main part of the quilting process, which involves stitching your quilt to make designs or patterns.
There are a lot of designs you can make. Here are a few.
Straight Lines
It’s a simple modern design that brightens up any quilt. It’s perfect for all styles, plus it’s also easy for beginners.
Steps: Use the seam guide for your walking foot to stitch straight lines. You can also mark straight lines on your quilt using a marker to help keep your lines straight.
Matchstick Lines

Matchstick lines are very close-spaced straight lines. It creates a beautiful texture and can be adapted to your own style by adjusting the distance between the stitching lines. Feel free to do so. Honestly, who knows? It might enhance your quilt’s clarity and interest!
Steps: Sewing straight lines requires the use of your walking foot’s seam guide. To get perfectly straight stitches, you can mark the stitching lines with a fabric marker using a ruler. Follow the lines while stitching.
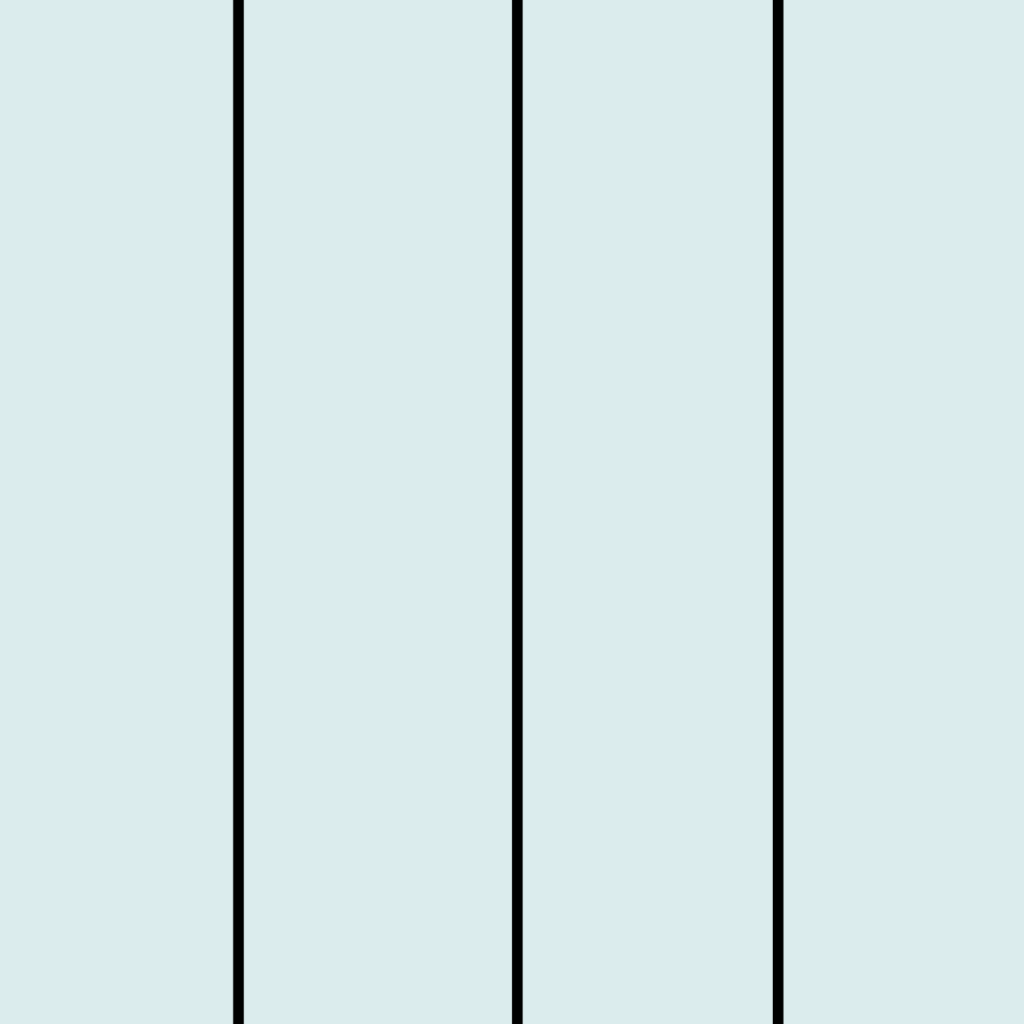
Cross-Hatch Lines

Cross-hatch lines are formed by stitching straight lines on both the long and wide sides of the quilt. If you are using a block-based pattern, this technique is great. This creates a nice pattern on top of the quilt. Try experimenting with the line spacing and adjusting it to your liking to see how the result turns out.
Steps: Stitch straight lines on your quilt vertically and then stitch the straight lines horizontally. For new sewers, it is a good idea to use a fabric marker or a pen to ensure that the block sizes are the same.
Wavy Lines
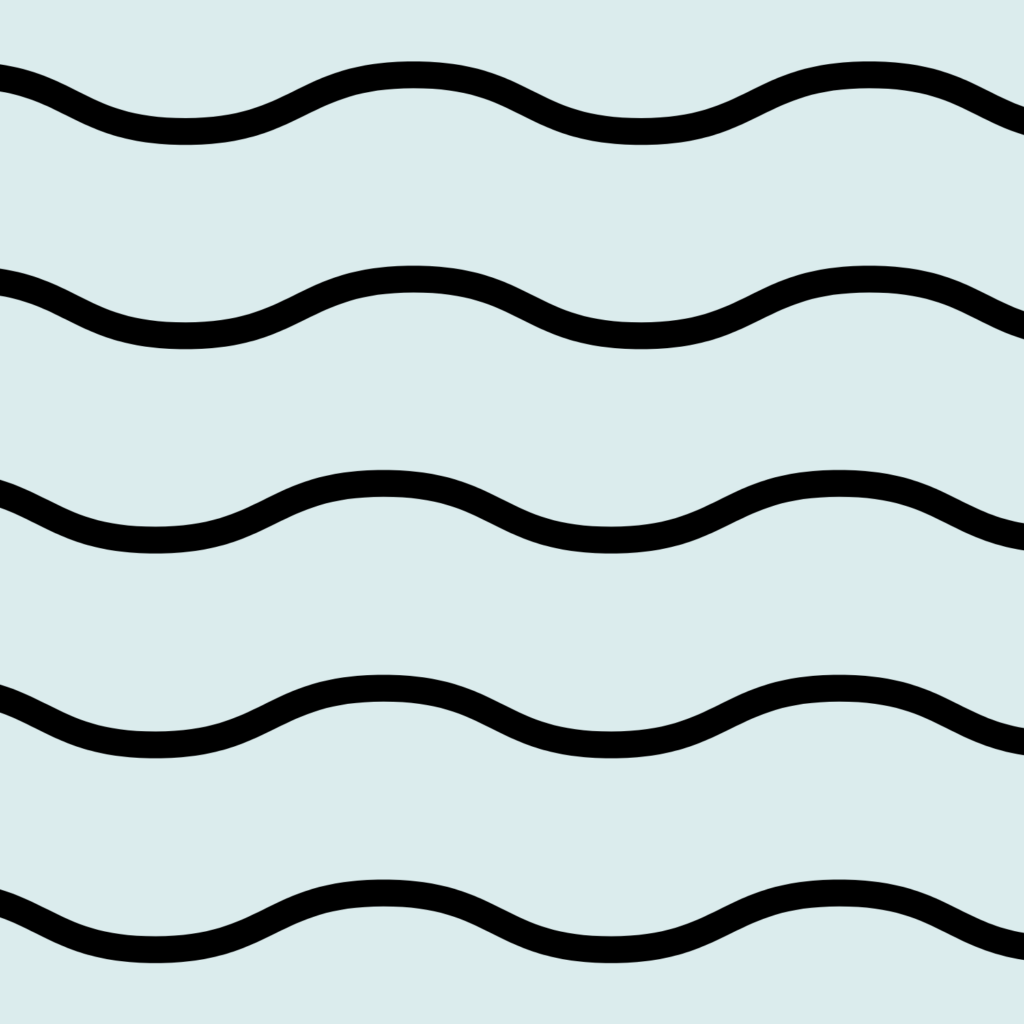
Quilters who are just starting out should try wavy lines. This design doesn’t require stitching straight lines and it’s also okay if the space in between your lines is not even.
Steps: To create wavy lines, move your fabric to the left and right while it’s being passed through your machine.
Diagonal Lines
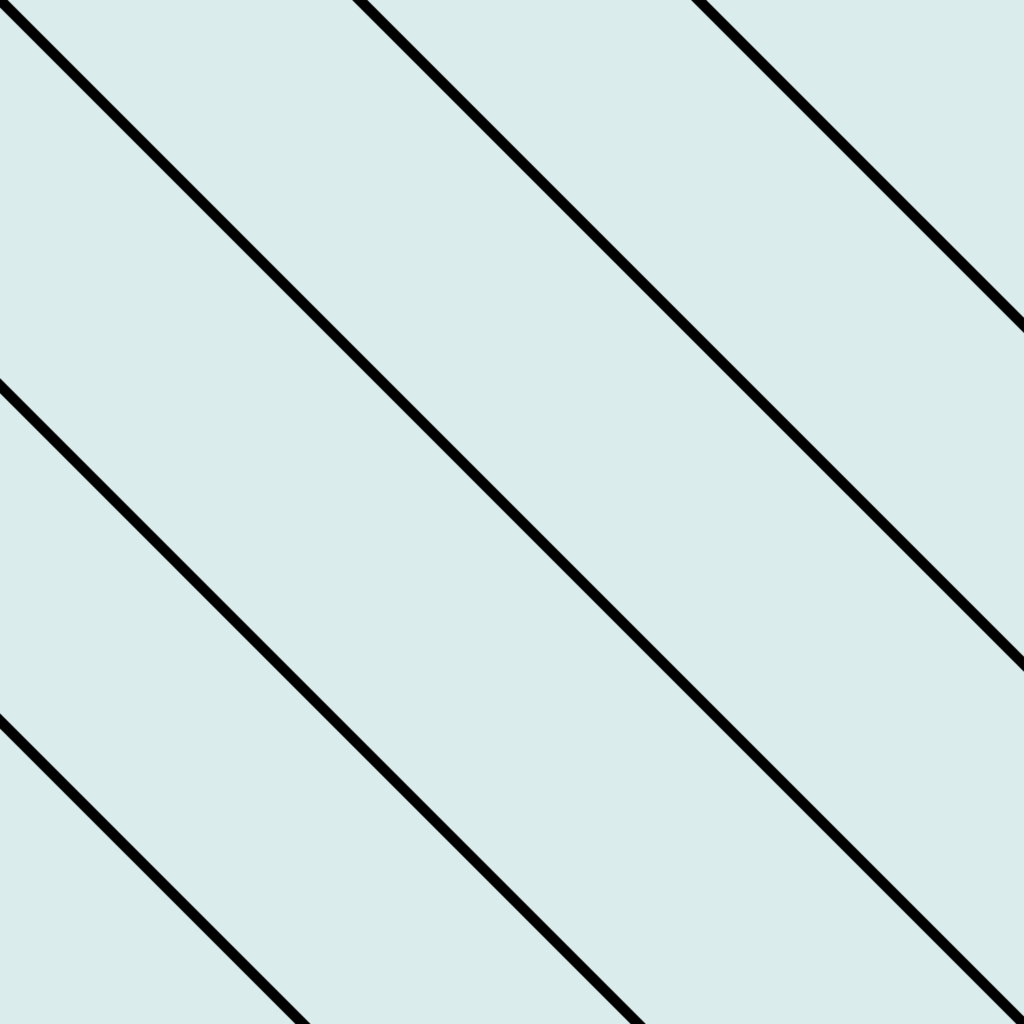
Diagonal quilting adds a modern touch to your quilt. As simple as this quilt pattern may seem, when it is completed, you will notice the vast difference it makes to your quilt due to the directional lines.
Steps: Stitch your quilt diagonally with straight lines. To maintain consistency, use a fabric marker, walking foot seam guide, or masking tape.
Zig-Zag Lines
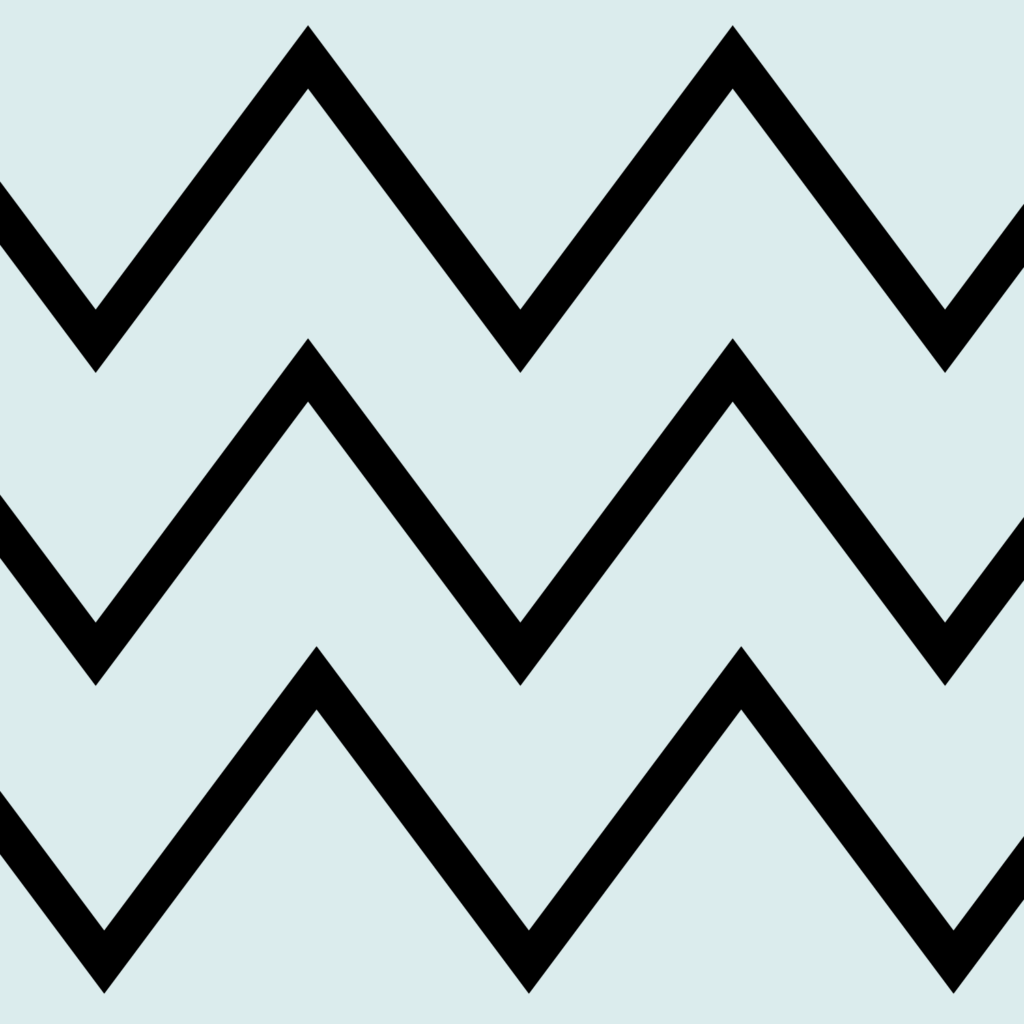
The zig-zag pattern works well as an all-over quilting design. Your straight-line stitching will look extra special with the zig-zag. Using this pattern, you can add a unique texture to your baby quilt.
Steps: Change your machine settings to the zig-zag stitch. Stitch straight lines down your quilt using your walking foot seam guide or a quilt marking tool to help keep the space between your lines consistent.
These were some of the easiest and quickest designs to stitch on your baby quilt. You can always mix and match these quilt designs to come up with a new pattern all your own.
It would be impossible for me to describe all the designs in this post since there are so many. That’s okay because these patterns are enough to make a baby quilt.
Continue practicing with these simple designs and search the internet for other designs. Then you’ll be a pro in no time.
Step 4: Bind the quilt edges
Binding is the final step in finishing a quilt. Binding frames the edges of a quilt. You may not find this necessary. However, covering the raw edges of the quilt sandwich gives the quilt a finished look and protects its edges from wearing out.
Binding a quilt is a long process and it takes time. So a few words aren’t enough to show you how to bind.
Here is a complete tutorial on how to bind a quilt. Follow the instructions and keep patience, you will have your baby quilt complete. Good luck.
Note: If you plan to hang it on your wall then binding may not be necessary. In that case, you can skip this part, and congrats your baby quilt is finished.
Leave a Reply