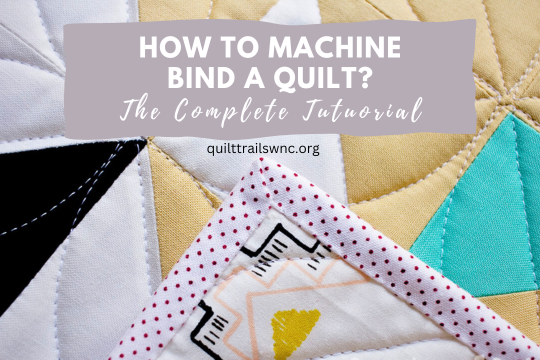
Binding is the final step of quilting and it must be perfect. Otherwise, all your efforts will be wasted!
There are a lot of ways to bind a quilt edge with a machine and everyone may not prefer the same techniques. So I came up with a simple method that will help you through the machine binding process.
I hope that by following this guide, you will be able to complete your project without making any mistakes.
Required Tools and Supplies
- Walking foot
- Pins or binding clips
- Ruler
- Iron
- Quilting gloves (helps get a better grip over the fabric)
Okay! All set? Now let’s move to the next part.
Be sure you follow all the steps without missing any part of it.
Step 1: Calculate and cut the binding strips
Your first step should be to figure out how many binding strips you need. This involves a little math.
I know that not everyone is a big fan of math and I’m one of them. So, I will try to explain the formula as simple as possible.
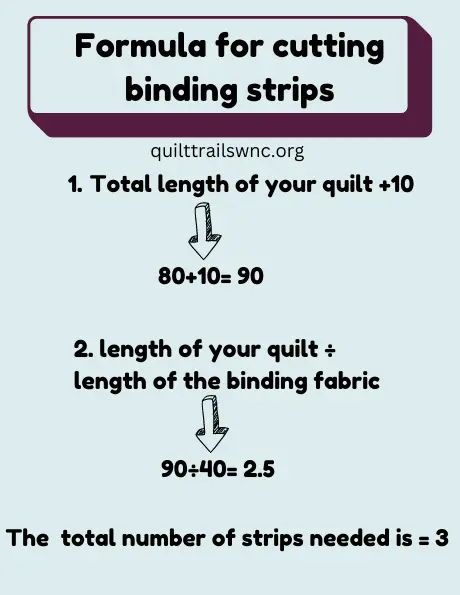
Formula:
- Calculate the total length of your quilt and add +10 to it.
For example, if your quilt is 20 inches on each side, then the total length of your quilt equals 20×4=80 inches. With +10 added, it would be 80+10=90.
- Next, measure the length of the fabric that will be used for binding from top to bottom. Divide it by the total length of your quilt.
Let’s say it’s 40 inches long. This means the number of strips you will need to cut is 90÷40 = 2.5
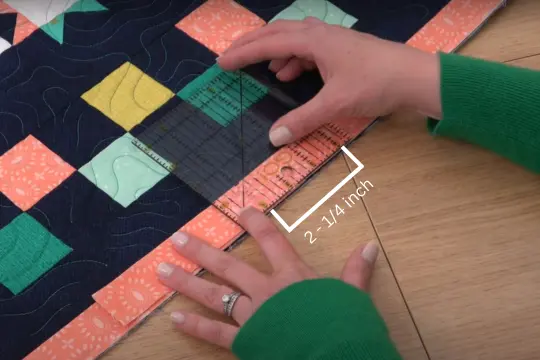
This means you’ll have to cut three strips. You can cut each strip 2 1/4 or 2 1/2 inches in width, according to your preference.
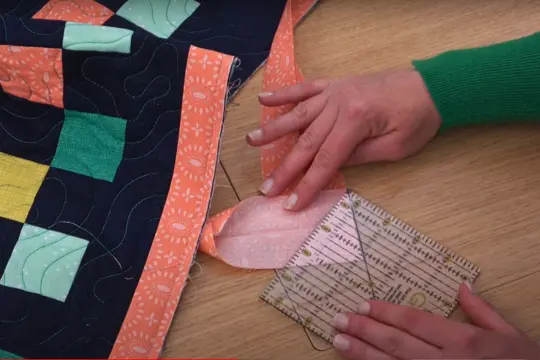
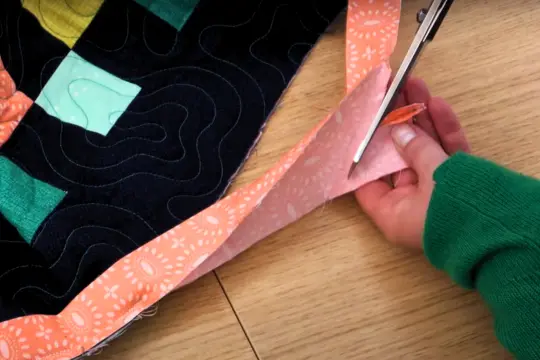
Step 2: Join the strips together
Start with your first strip and place it on the table. Lay another strap on top of that strip at a 90-degree angle and make sure it faces the wrong side up.
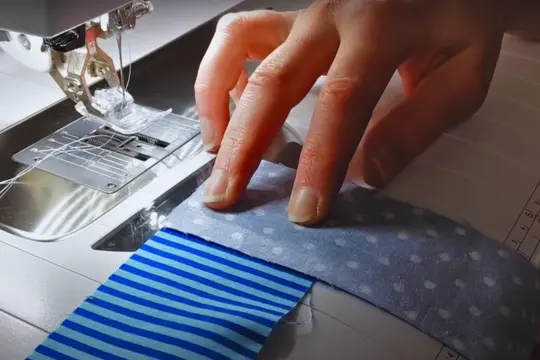
Sew them together at a 45-degree angle as shown below.
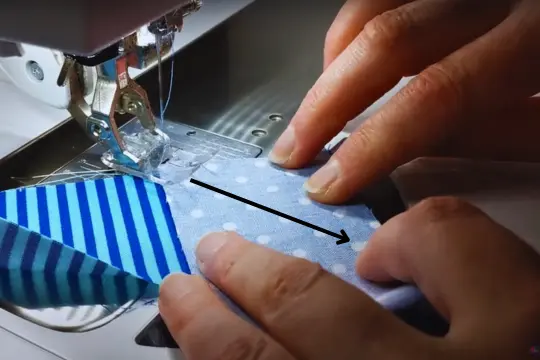
Cut the seam allowance using a scissor, leaving a quarter inch from the stitching line.
Once you have joined all the strips together, you will have a continuous binding strip that is ready to go.
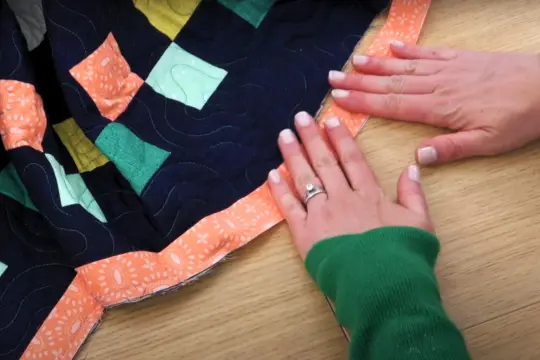
Step 3: Attach binding to the quilt
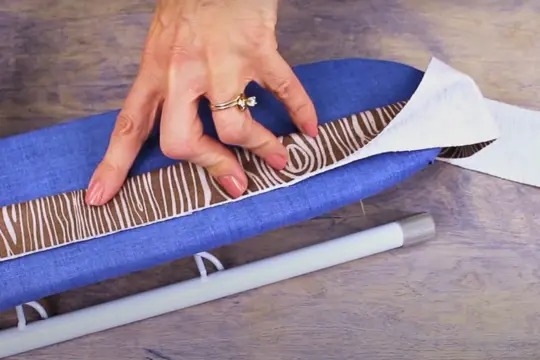
Fold the binding in half lengthwise and press it with an iron.
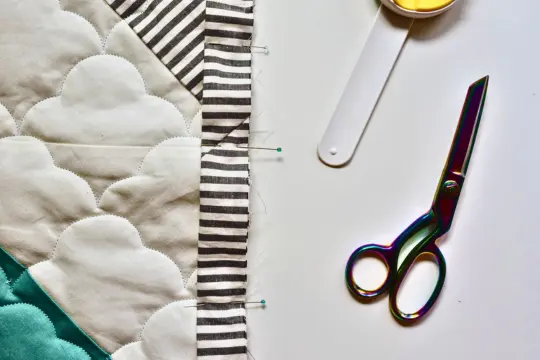
Place the strip on top of your quilt’s backside. The raw edge of the folded binding strip should be flush with the raw edge of the quilt.
Use safety pins or clips to attach them together like the image below.
Step 4: Sew the binding
Start sewing from the middle since this is where the binding will begin and end. Leave about 5-8 inches of the binding as a tail to connect it to the binding end. Use a 1/4-inch seam allowance. Follow the image instructions below:

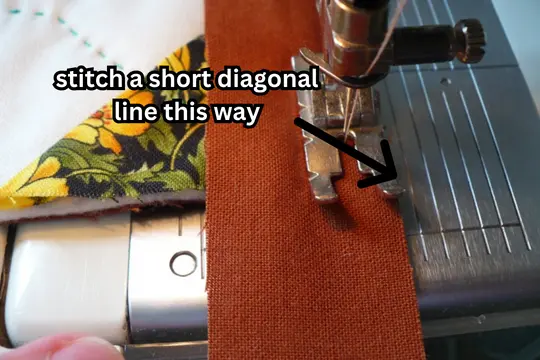
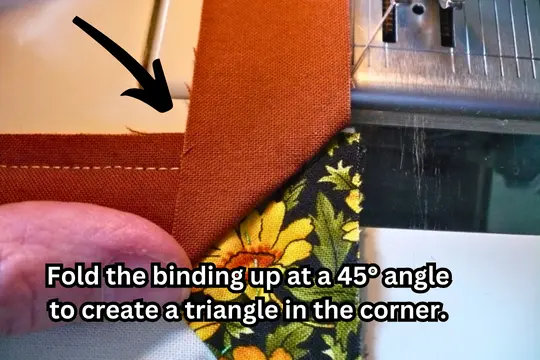
Sew the binding until you get close to a corner. When you are about ¼” away from the corner, stop sewing. Now rotate the quilt and stitch a short diagonal line towards the corner of the quilt.
Fold the binding up and away from your quilt at a 45° angle. This will create a triangle in the corner.
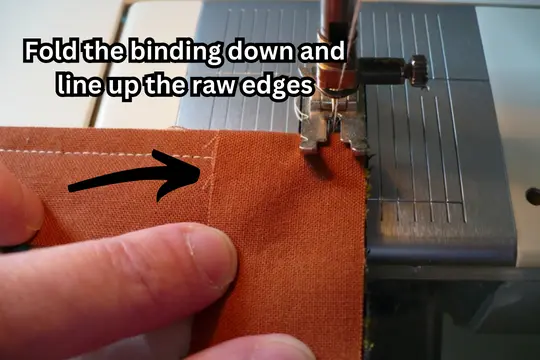
Fold the binding back down and line up the raw edges together. As before, pin the edges together using pins.
Do the same trick for every corner until you reach the end. Stop stitching when you are about 10 inches away from the starting point.
Step 5: Connect the ends
You will now have to connect the binding ends. There are several methods to doing this but I prefer the 45-inch seam allowance as this is easy and quick.
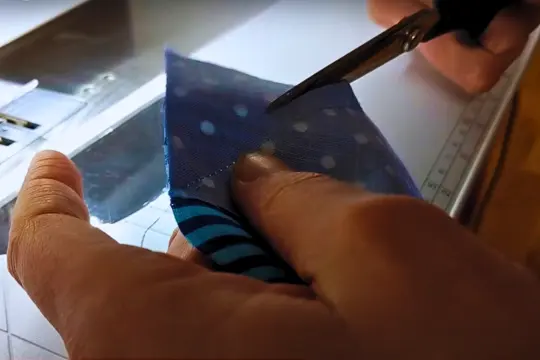
You must cut the extra tail at both ends first, and this is where you need to be precise.
Binding strips need to overlap by the same length as their width. That means if your binding strips are 2-1/4″ wide, they should overlap by 2-1/4″ on both sides.
Mark the cutting lines and trim the excess binding tails on both sides.
Now open up the binding strips and use the 45-degree seam allowance method to connect both ends as you did in step two while joining the binding strips together.
After sewing, cut off the extra fabric, leaving a 1/4-inch seam.
The binding ends have been connected successfully. Now just fold the fabric and sew it to the quilt.

Step 6: Attach binding to the right side of the quilt
Flip your quilt and fold the binding over the raw edge to the right side of the quilt and press it with an iron. Hold it in place using pins.

Begin stitching, and keep doing so until you reach a corner. When you get to a corner, stop stitching.
Fold the corner over and use a seam ripper to hold the corner in place as you sew, then stitch it up into the corner.
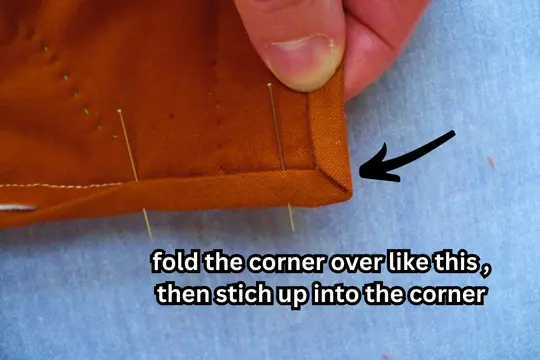
When the corner is finished, put the needle down. Rotate the quilt 90 degrees, and keep sewing the other edge of the quilt. Repeat it until your quilt is completely bound.
Congrats! Your quilt binding is complete.
Now that you have done it once you should keep practicing with this method until you fully learn the steps and become a pro.
Good luck quilting!
Leave a Reply