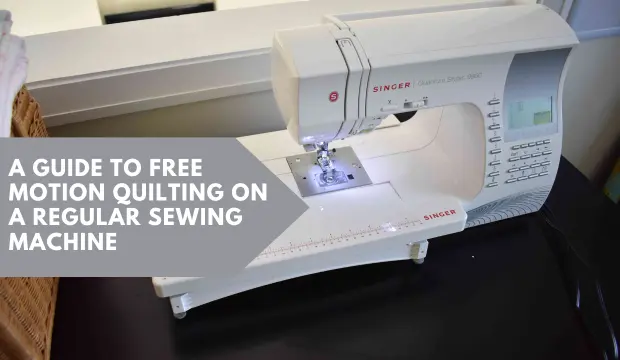
Although it may seem like a regular sewing machine is not capable of free-motion quilting, the truth is you can do it on a sewing machine. Using a regular sewing machine, you can easily do free-motion quilting.
If you want to free-motion quilt on a regular sewing machine, you will have to lower the feed dogs and attach a free-motion foot to your sewing machine. It gives you full control over the fabric. You can then move the fabric wherever you want to create a pattern or design.
Things you will need to do first
- Lower your feed dog
- Attach a free-motion foot
- Wear quilting gloves (This will help you get a good grip on the fabric so you can move it to create your desired design).
The steps to follow to free motion quilt using a regular sewing machine
Free motion quilting is a technique where you move the fabric in any direction you desire to create a design, so there isn’t much to teach about it.
Just follow these simple steps and you will be good to go:
Step 1: Prepare your machine
If you are going to do free motion quilting, you need to make sure that your sewing machine is ready for it. You need to make sure you use the right needle.
It is recommended to use a 90/14 or 100/16 needle for free-motion quilting since they are strong enough to handle fabric movement.
You should also ensure that your sewing machine has a free-motion quilting foot or darning foot. This foot is designed to move with the fabric and allows the needle to move freely.
Adjust the tension on your sewing machine to accommodate the fabric’s movement. In most machines, the tension can be adjusted by turning the dial or knob. After adjusting the tension, engage the needle and foot to ensure they are performing as intended.
Step 2: Start quilting
Now that your machine has been set up, you are ready to begin quilting. Put on the quilting gloves first, as this will aid in your gripping.
The first step is to place the quilt top, the batting, and the backing in order. Then, secure them with safety pins to prevent wrinkles.
Put the quilt on your machine, and begin quilting by moving the fabric with your hands in the direction you wish to quilt.
You may stitch straight lines, curves, or designs, whatever you want. The key is to keep the fabric and the needle moving constantly.
Step 3: Finish quilting
Once you have finished quilting, remove the quilt from the machine and trim any loose threads. You can touch up any areas that need it with a hand needle and thread if needed.
Summary
The process of free-motion quilting can be done on a sewing machine in a few simple steps. Free-motion quilting allows you to personalize your quilts in a fun and creative way. A little patience and practice can get you beautiful results on a regular sewing machine.
To succeed at free-motion quilting, it is important to keep the fabric moving as well as the needle. Practice simple patterns and designs first, then move on to more complex ones as you gain experience.
Best of luck with your quilting!
Leave a Reply