Originally crafted in serene blue batiks, this time we’re diving into a festive, retro Christmas theme that’s sure to bring a nostalgic charm to your holiday decor. Let’s walk through the process of creating this delightful quilt, step by step.
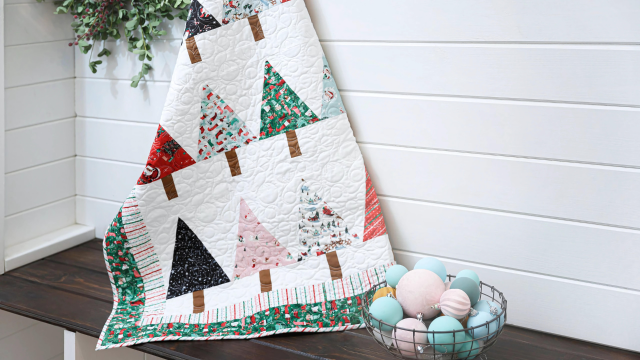
A Retro Christmas Fabric Line
For this reboot, I chose the whimsical “Twas” fabric line by Jill Howarth for Riley Blake Designs. This collection is brimming with jolly Santas, cheerful snowmen, and vintage-inspired prints that evoke the magic of Christmas past.
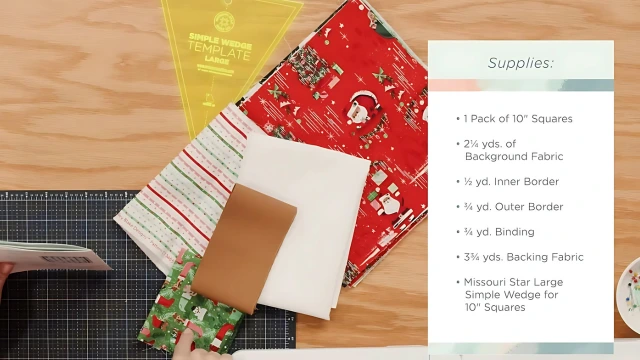
Materials You’ll Need
To recreate the Winter Pines Throw Quilt, gather the following materials:
- One package of 10-inch squares (layer cake)
- 2 ¼ yards of background fabric (I used white)
- ½ yard for the inner border (I chose a cute stripe, also used for the binding)
- ¾ yard for the binding (if using the same fabric as the inner border)
- ¼ yard of accent fabric for the tree trunks (I used a strip of brown)
- ¾ yard for the outer border
- 3 ¾ yards for the backing (using horizontal seams)
Let’s start with cutting trees
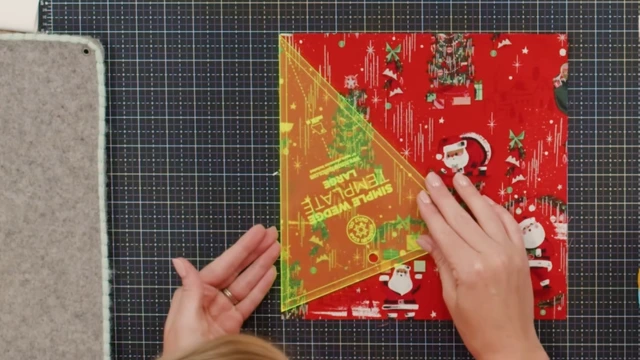
We’ll start with the trees. Using the large simple wedge template from Missouri Star, align the template along the left side of a 10-inch square.
Cut the long side first, then flip the fabric and cut the other side to create your tree shape. Each 10-inch square will yield two tree shapes with minimal waste.
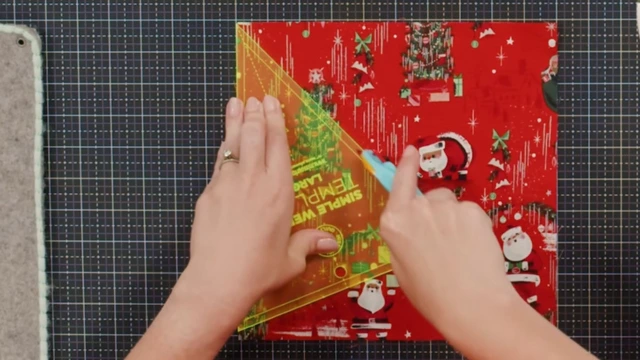
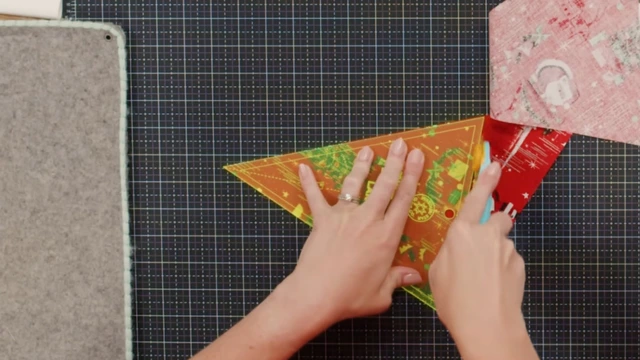
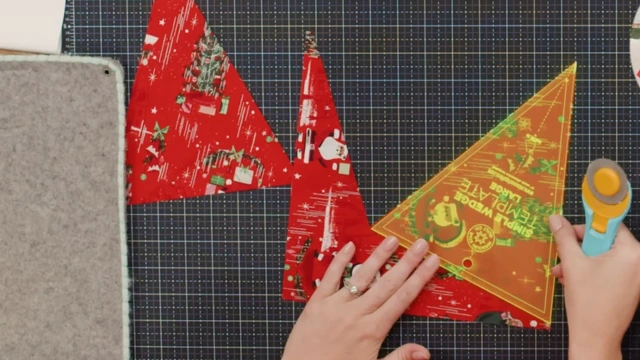
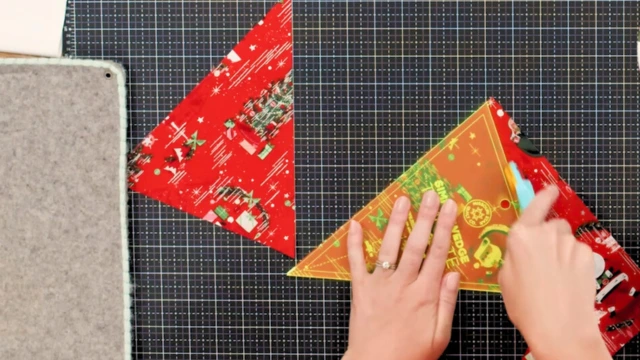
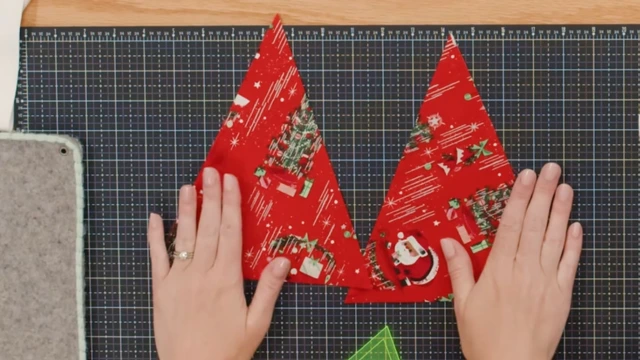
If you prefer, you can use the scraps for the tree trunks, but I opted for a contrasting brown fabric to make the trunks pop.
Background Part
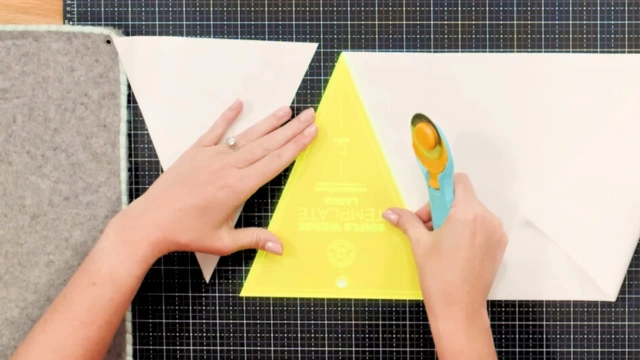
For the background, cut a 9-inch strip from your yardage. Fold the strip into four layers and use the same wedge template to cut the background pieces.
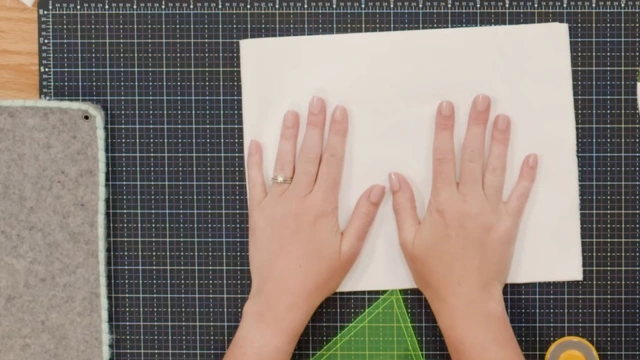
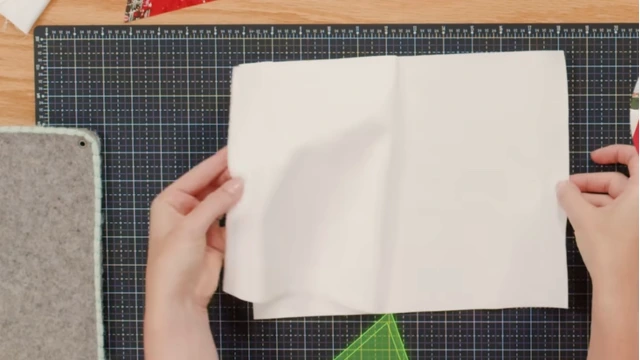
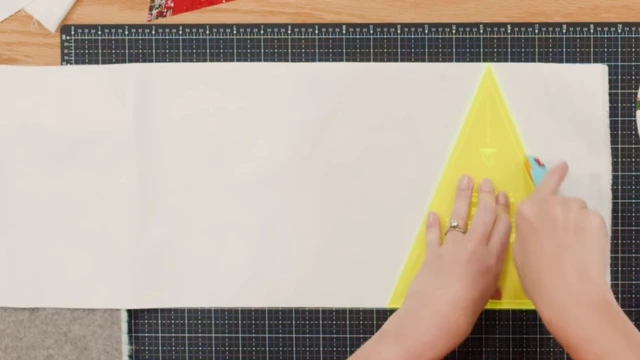
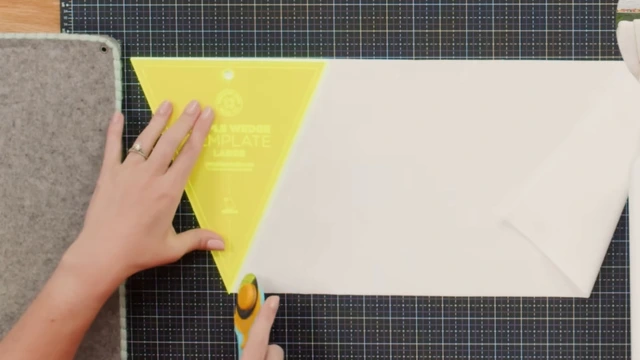
Alternate the direction of the template to minimize waste and ensure you have enough pieces for your quilt.

Assemble the Rows
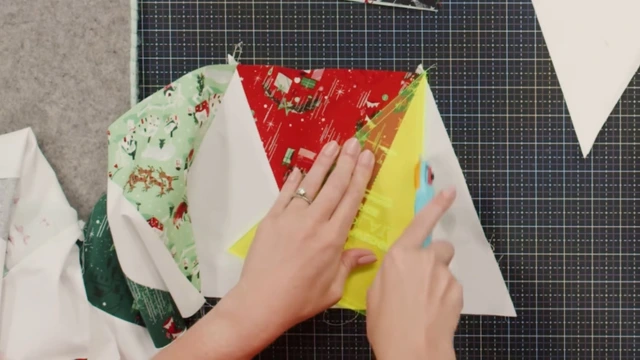
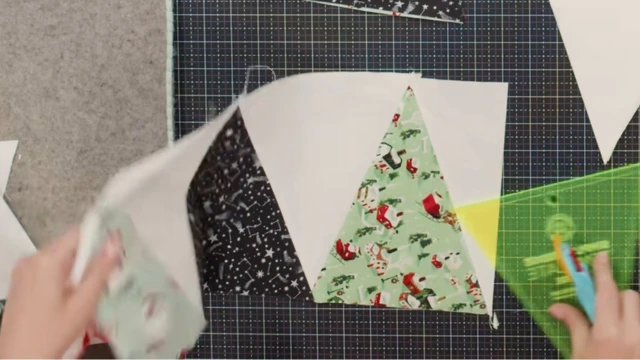
Each row of the quilt consists of seven tree shapes with background pieces in between. Start and end each row with a background piece.
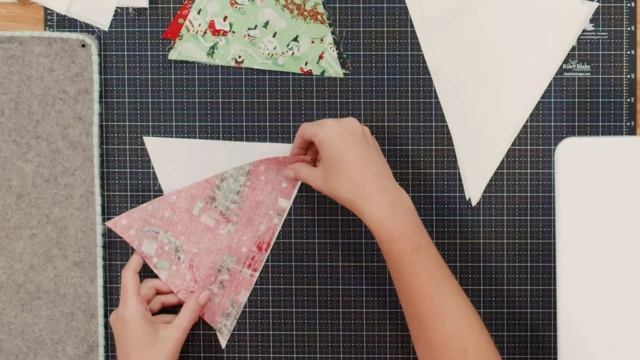
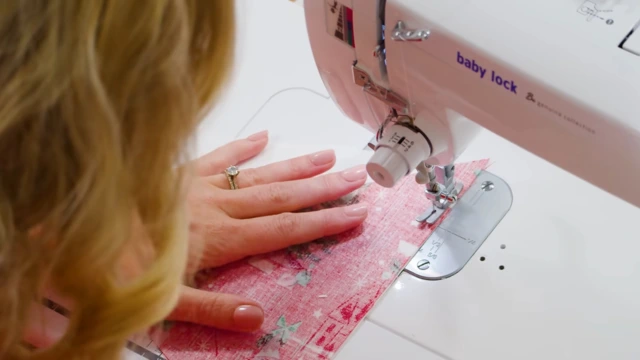
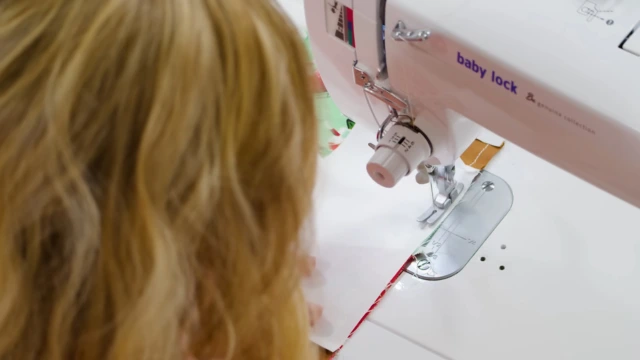
When sewing the pieces together, ensure a slight overhang at the top and bottom to maintain a consistent quarter-inch seam allowance. This small detail helps keep your rows straight and your quilt looking polished.
Tree Trunks
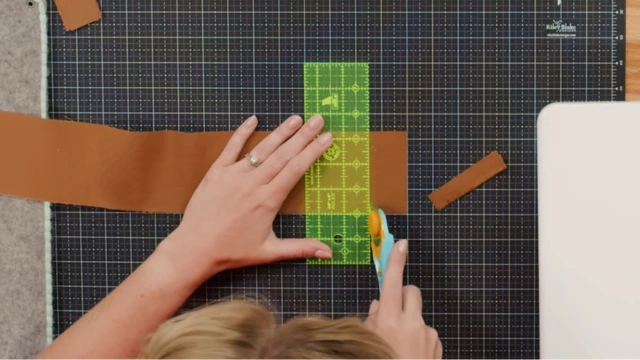
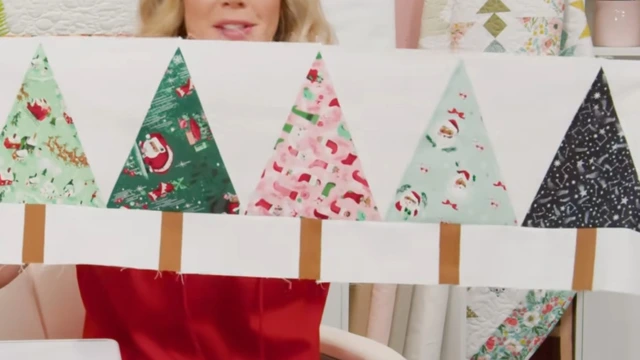
To create the tree trunks, cut rectangles measuring 3 ¼ by 1 ½ inches from your accent fabric.
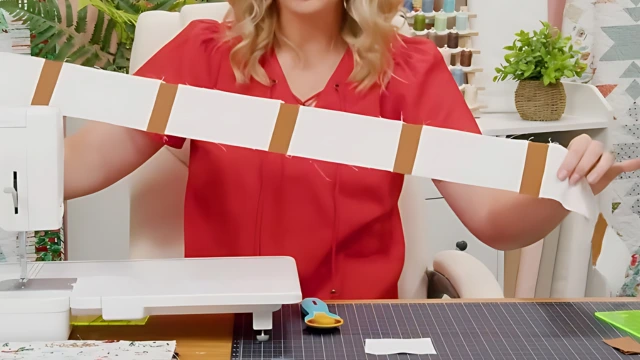
You’ll also need 3 ¼-inch background squares for the ends of each row and 6 ¼ by 3 ¼-inch rectangles for the spaces between the trunks.
Sew the trunks to the background squares and rectangles to form a complete row.
Quilt Top
Once your tree and trunk rows are assembled, it’s time to put the quilt top together. Alternate the tree rows with 2 ½-inch sashing strips to give the design some breathing room.
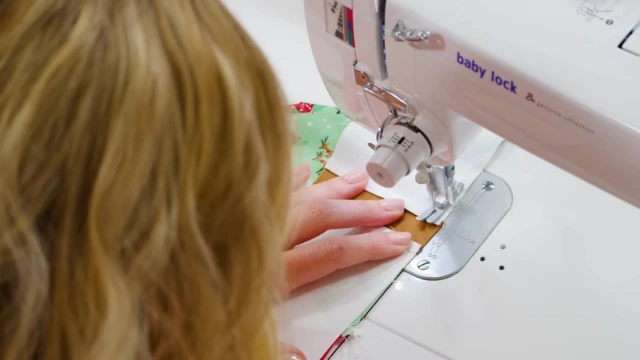
Add a 2 ½-inch inner border and a 4-inch outer border to frame the quilt. The finished throw measures 57 by 73 inches, making it a cozy addition to any room.
Quilting and Finishing Touches
For the quilting, I chose a jingle bell pattern that complements the festive theme. The playful design adds texture and interest to the quilt, enhancing its overall charm. Once quilted, bind the edges with your chosen fabric to complete the project.
Final Thoughts
The Winter Pines Throw Quilt is a versatile pattern that looks stunning in any fabric. The process is straightforward, and the result is a beautiful, handmade piece that brings warmth and joy to your home.
I hope you enjoyed this tutorial and feel inspired to create your own Winter Pines Throw Quilt. Happy quilting.
Leave a Reply