As the leaves turn golden and the air gets crisp, it’s the perfect time to embrace the cozy vibes of fall. And what better way to do that than by crafting a delightful pumpkin quilt block?
Today, I’m excited to share a simple yet adorable pumpkin quilt block tutorial that’s perfect for autumn. This project is not only easy to follow but also a fantastic way to use up those cherished scrap fabrics you’ve been saving.
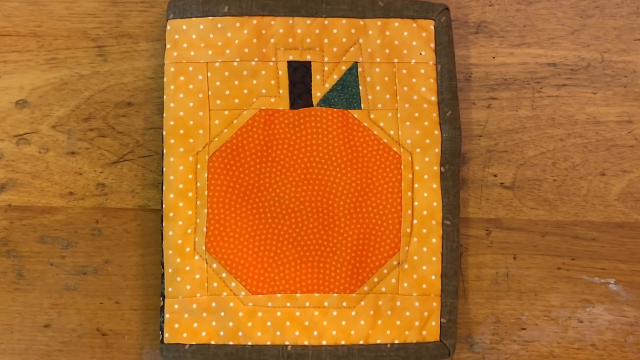
Why This Pumpkin Quilt Block is Perfect for Fall
Oh, pumpkins! To me, they just are fall. The smell of them roasting, the way their orange glow warms a room…it’s all so cozy. And a pumpkin quilt block? Well, it’s like bringing a little bit of that autumn magic right into your home.
Whether you whip up a whole quilt or just a little mug rug, this pattern is so versatile. It’s perfect for Halloween, of course, but it also works for Thanksgiving or just celebrating the simple joys of the season.
Plus, making a quilt block is a great way to relax and get creative. It’s like a little piece of autumn therapy right in your own living room. So gather up your fabric, grab a cup of hot cider, and let’s get stitching!
Materials and Preparation
Before we begin, gather your materials.
We’ll need some orange fabric for our pumpkin, of course. A little brown and green for the stem and leaves. And then, pick your favorite background fabric. A cozy flannel or a cheerful cotton? The choice is yours!
Don’t forget the usual sewing stuff: rotary cutter, ruler, mat, iron and board, pencil, scissors…and your trusty sewing machine, thread, and pins. Let’s get started on this pumpkin adventure!
The beauty of this project lies in its simplicity and the opportunity to use up those fabric scraps you’ve been holding onto.
Pumpkin Quilt Block Skill Level: Easy
Finished Block Size: 6″ x 7″
Step 1: Cutting the Fabric
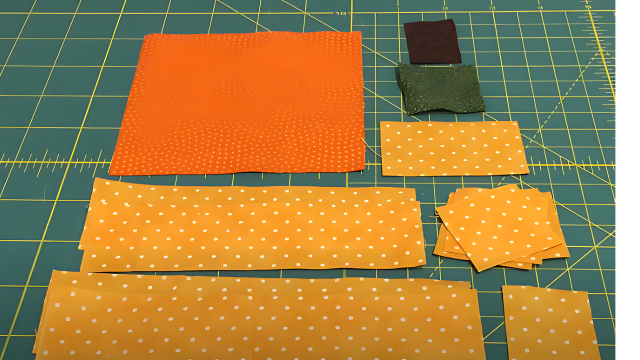
Start by cutting your fabric pieces according to the cutting instructions provided below:
- For the pumpkin: One 4 1/2″ x 4 1/2″ square of orange fabric.
- For the background: Five 1 1/2″ squares, one 2 1/4″ x 1 1/2″ rectangle, one 1 1/4″ x 1 1/2″ rectangle, and four 1 1/2″ x 5 1/2″ and 1 1/2″ x 6 1/2″ strips.
- For the stem: One 1″ x 1 1/2″ rectangle of brown fabric.
- For the leaf: One 1 1/2″ square of green fabric.
Remember to use a 1/4″ seam allowance throughout the project unless I tell you otherwise.
Once you’ve cut your pieces, you’re ready to start creating the pumpkin block.
Step 2: Constructing the Pumpkin
Take four 1.5-inch background fabric squares and draw a diagonal line from corner to corner on the back of each square using your preferred marking tool. These squares will form the corners of your pumpkin.
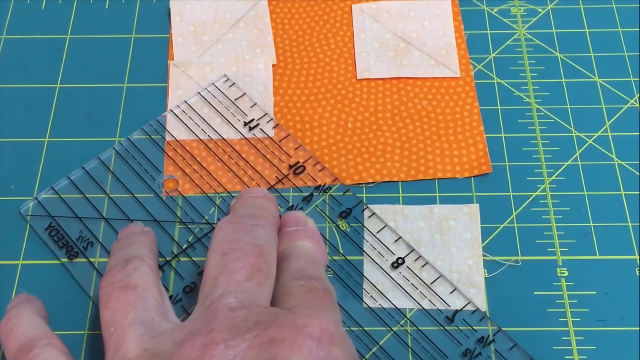
Position the marked squares on the corners of the pumpkin fabric with the right sides together.
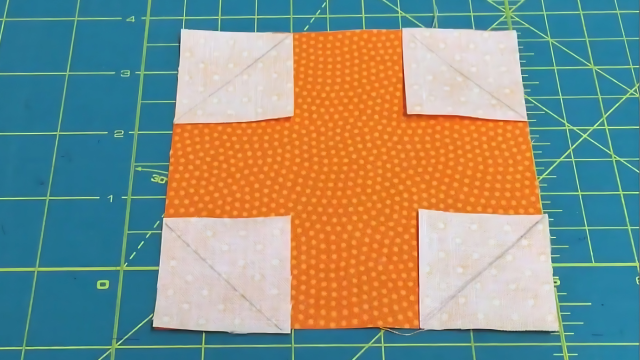
Sew along the marked lines, then trim the excess fabric 1/4 inch from the sewing line towards the outside.
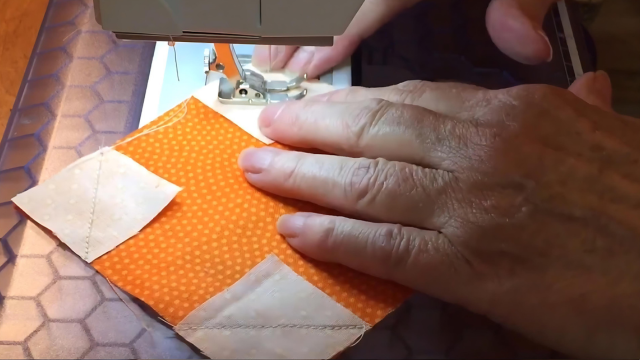
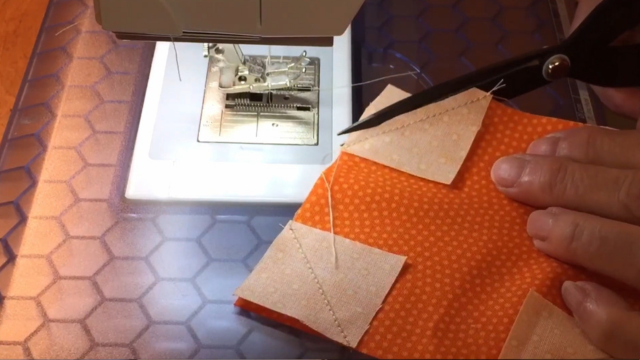
This step will help create the rounded shape of the pumpkin. After trimming, unfold the corners and press them gently to the outside.
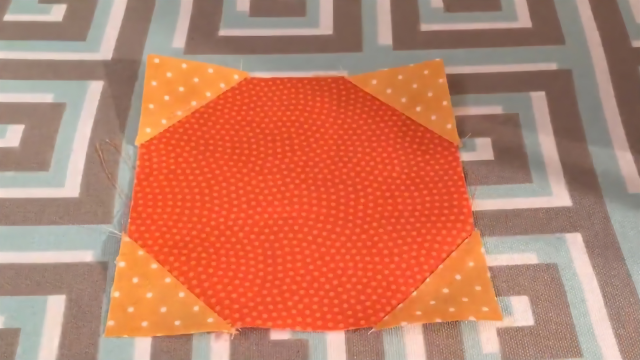
Step 3: Stem and Leaf Strip
Next, we’ll create the stem and leaf strip.
To make the leaf, we’ll use a half-square triangle technique. Draw a diagonal line on the back of the lighter fabric square, then place it on the right side of the darker fabric square.
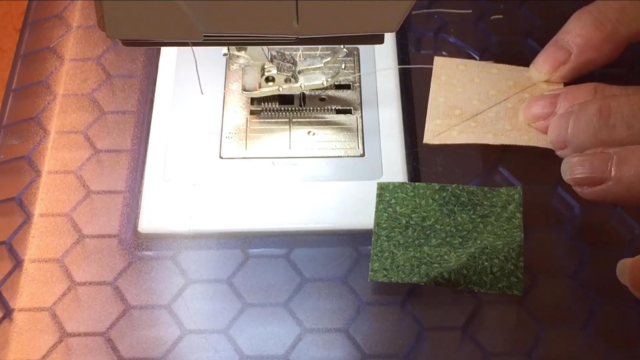
Sew along the marked line and trim 1/4 inch away from the seam. Press the seam open to reveal the half-square triangle.
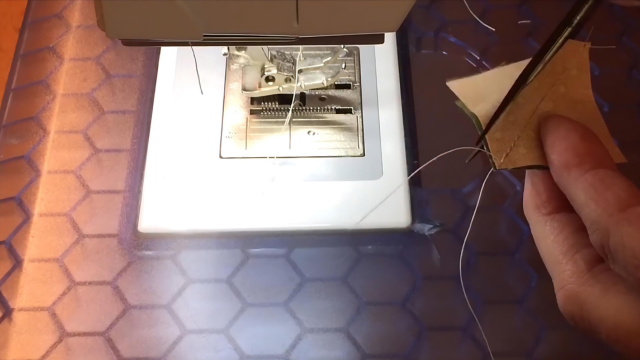
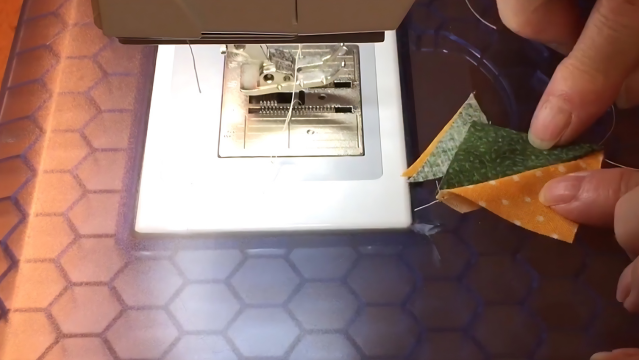
To assemble the stem and leaf piece, line up the following pieces: a 2.25-inch by 1.5-inch background fabric, the stem piece, the leaf piece, and another 1.25-inch by 1.5-inch background fabric.
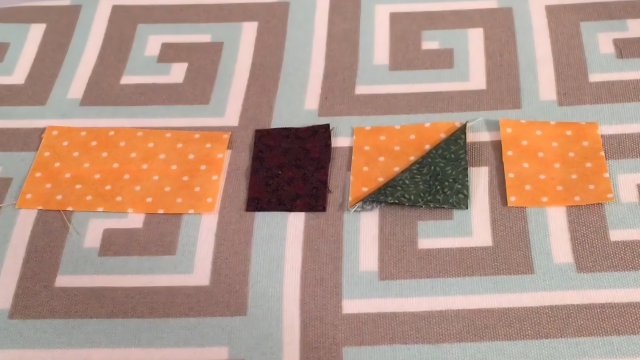
Sew these pieces together in the specified order using a 1/4-inch seam allowance. Press the seams to one side.
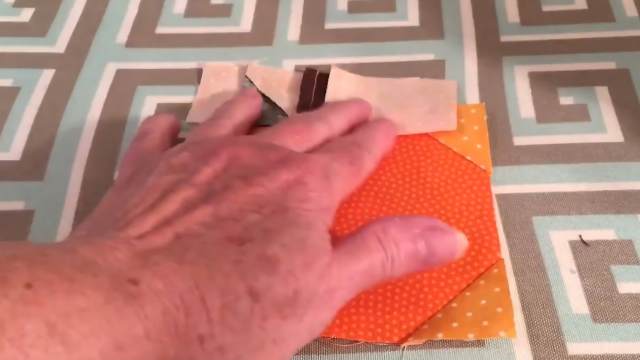
Step 4: Assembling the Block
Now it’s time to sew the stem and leaf strip to the top of the pumpkin. Align the edges and use a 1/4-inch seam allowance to sew them together. Press the seams towards the background fabric.
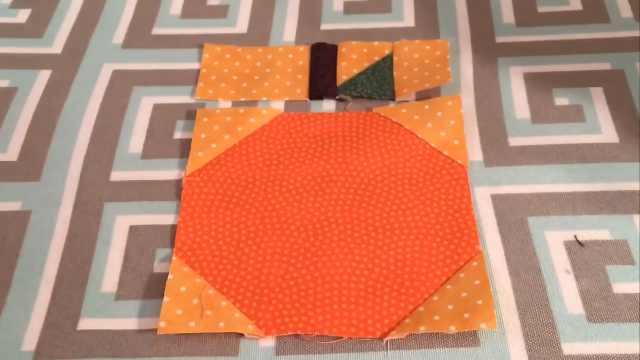
The final step in constructing the block is to add the borders.
Sew two 1.5-inch by 5.5-inch background fabric strips to the sides of the pumpkin.
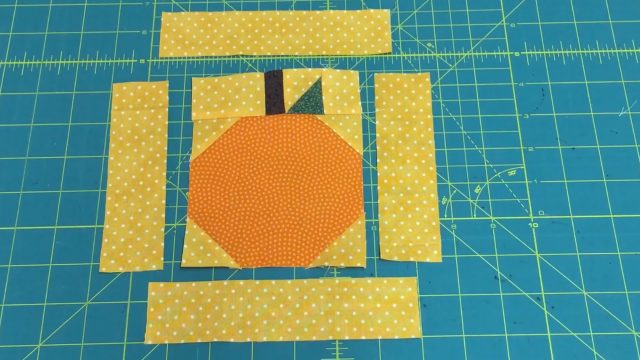
Press the seams towards the background fabric. Then, sew the two longer background fabric strips (1.5-inch by 6.5-inch) to the top and bottom of the pumpkin.
Again, press the seams towards the background fabric.
Finishing Touches
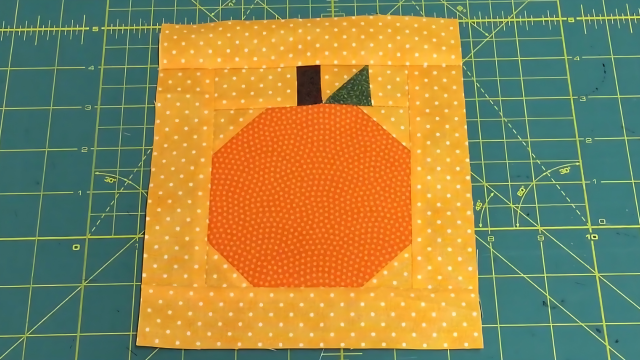
Congratulations! Your pumpkin quilt block is now complete. You can make one block or create an entire crop of these charming pumpkins to use in various fall and Halloween projects. The versatility of this pattern allows you to incorporate it into wall hangings, table runners, pot holders, coasters, or even a cozy mug rug.
My Additional Tips and Ideas
Scrap Fabric Use: This project is an excellent way to use up small pieces of fabric that you might have left over from other projects. Mix and match different autumn-themed fabrics to create a unique and colorful pumpkin patch.
Personalization: Feel free to personalize your pumpkin blocks by adding embellishments such as embroidery, buttons, or fabric paint. This can add an extra touch of creativity and make your project truly one-of-a-kind.
Gift Ideas: These pumpkin quilt blocks make wonderful gifts for friends and family. Consider making a set of coasters or a table runner as a thoughtful handmade present for the fall season.
Last Words!
I hope you enjoyed this tutorial on making a pumpkin quilt block. It’s a fun and easy project that brings the spirit of fall into your home. If you liked this tutorial, please share it with your family and friends.
While you’re there, sign up for our Weekly Newsletter to stay updated on new tutorials and crafting ideas.
Don’t hesitate to reach out if you need any clarification. I’m happy to answer your questions and guide you through the process.
Leave a Reply