This is a quilt project created by Jenny doan. I am explaining here step by step so that you don’t overwhelm by the complexity of the entire process.
The Christmas Wall Hanging Quilt
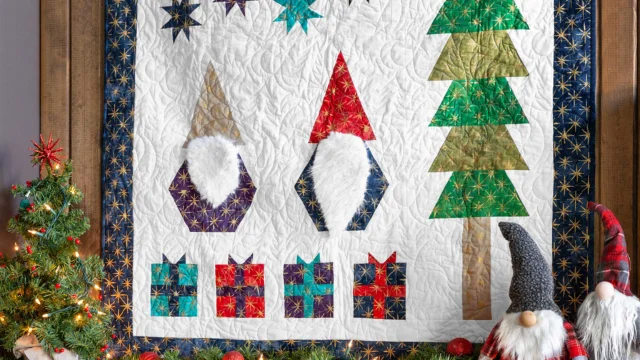
This Christmas wall hanging is a delightful patchwork of presents, wonky stars, half hexagons, and adorable gnomes. Jenny has cleverly combined elements from previous tutorials to create a cohesive and festive design. Here’s a breakdown of the main components and how you can make them:
Materials Needed
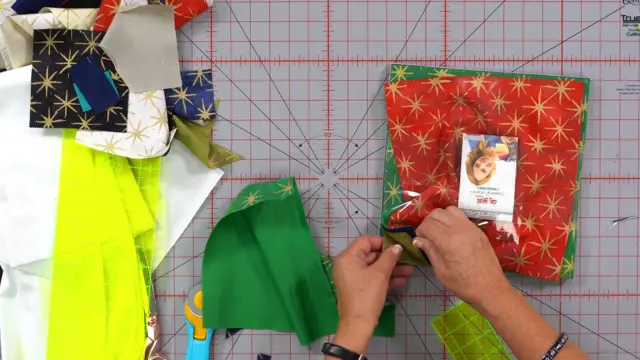
- One packet of ten-inch squares: Jenny uses the Grunge Metallic Seeing Stars by Basic Grey, which provides more than enough fabric for multiple wall hangings.
- Background fabric: You’ll need about a yard and a half for the white background and the two small border strips.
- Outer border fabric: A four-inch border requires five strips.
- Half hexi ruler and simple wedge ruler: Essential tools for cutting the shapes accurately.
Making the Presents
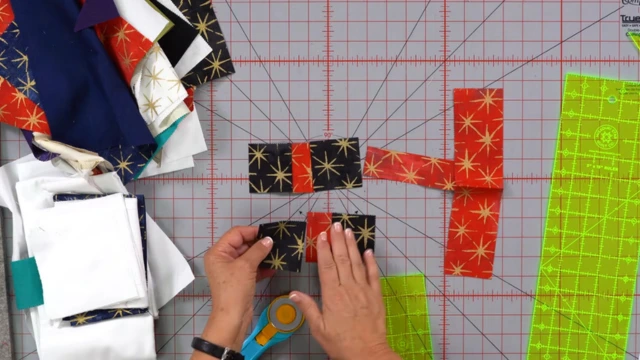
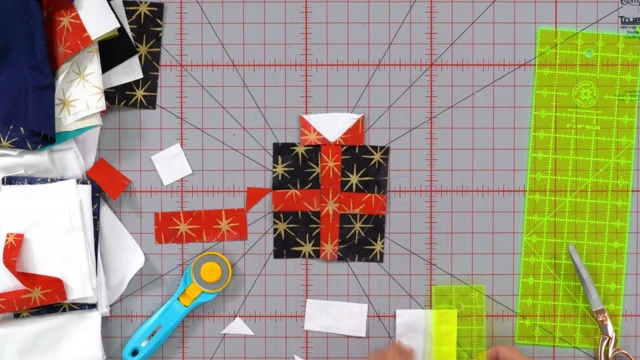
The presents are a fun and straightforward element to start with. Each present is made from a five-inch square, quartered into four two-and-a-half-inch squares.
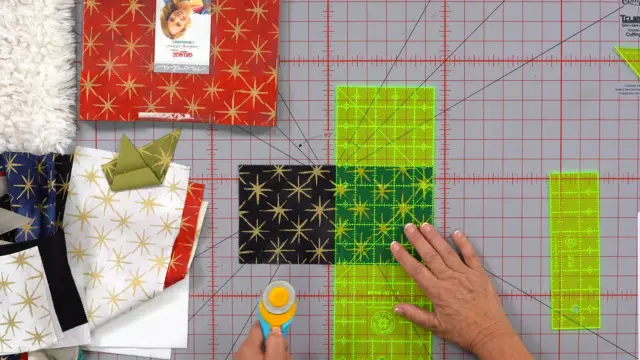
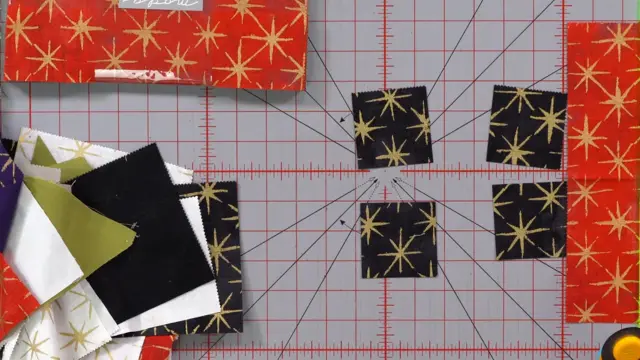
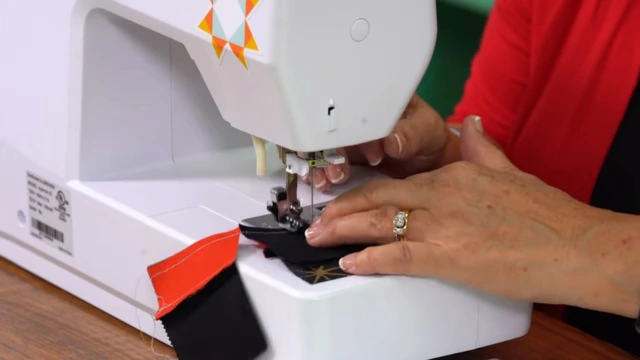
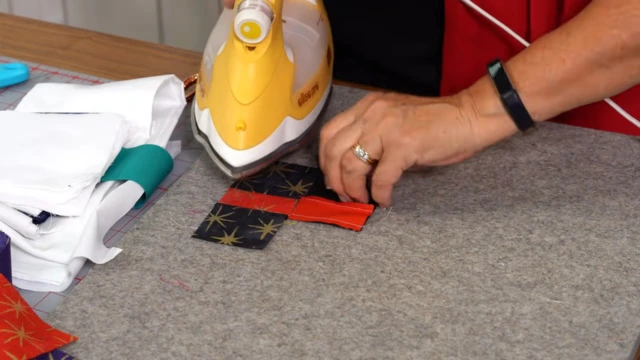
To add a ribbon, cut an inch-and-a-half strip of contrasting fabric and sew it between the squares.
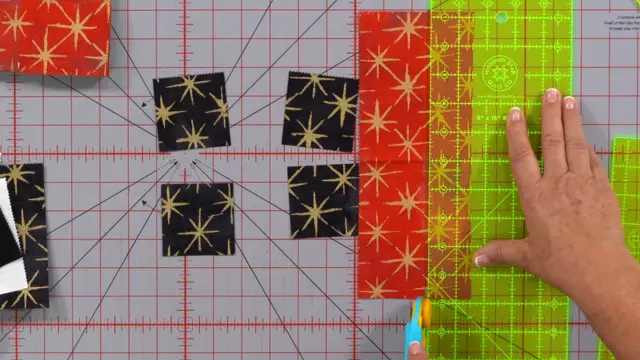
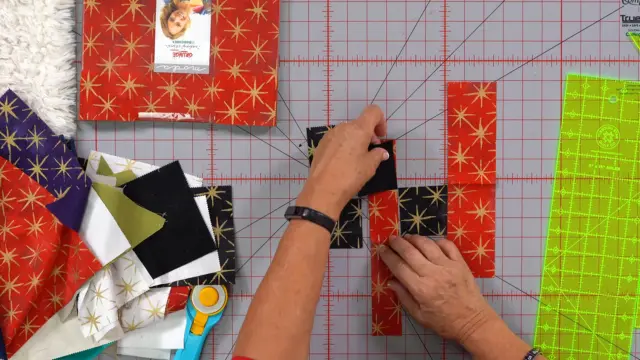
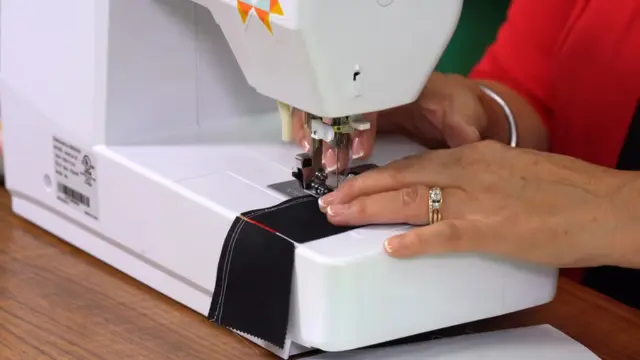
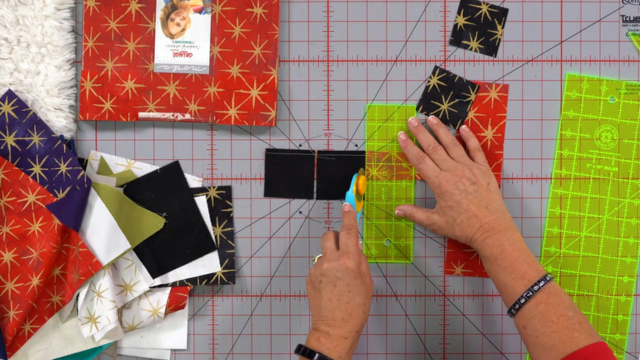
This creates the illusion of a wrapped gift. Jenny demonstrates how to sew the pieces together, ensuring the ribbon aligns perfectly.
Crafting the Wonky Stars
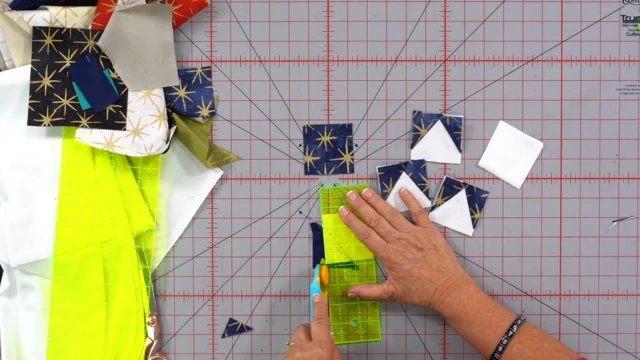
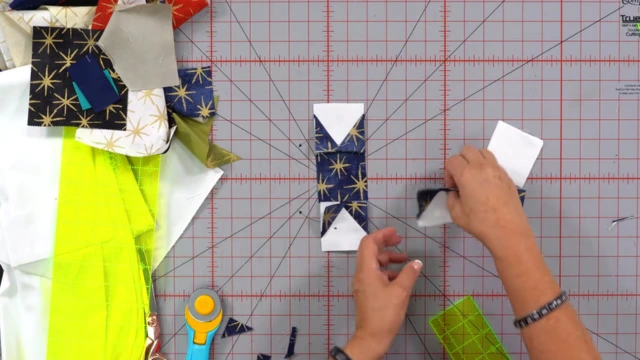
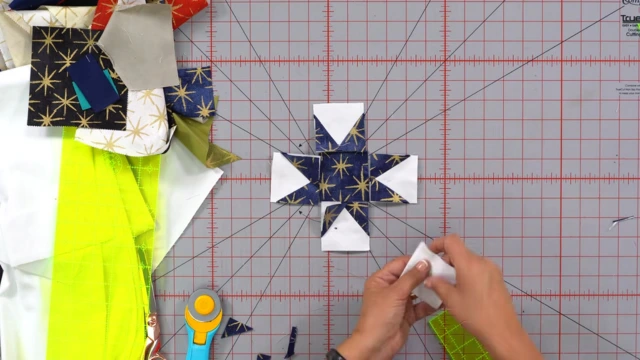
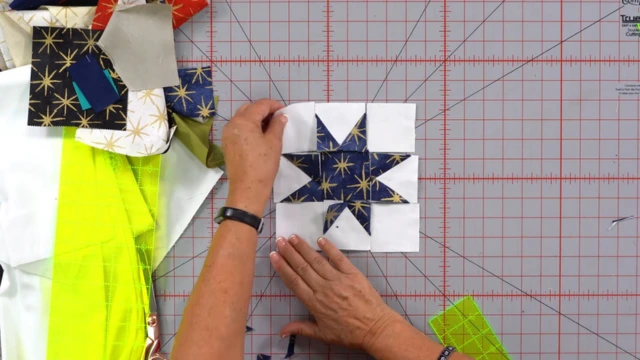
The wonky stars add a whimsical touch to the wall hanging. Each star is made from a two-and-a-half-inch square with legs that cross over the middle.
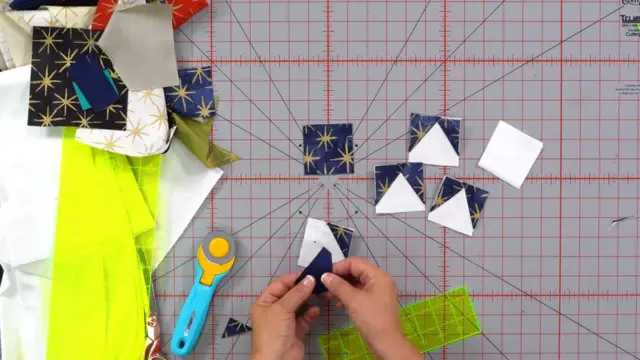
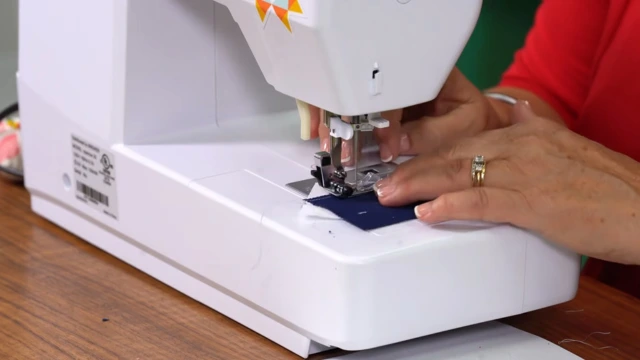
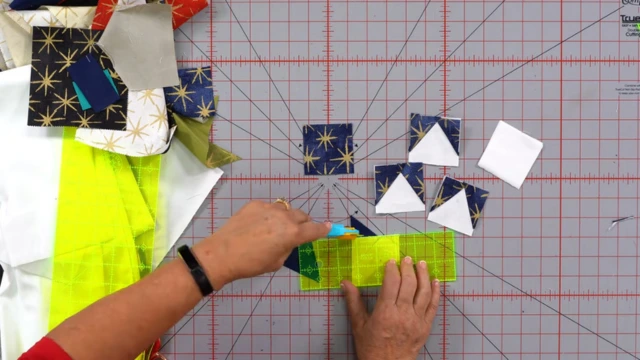
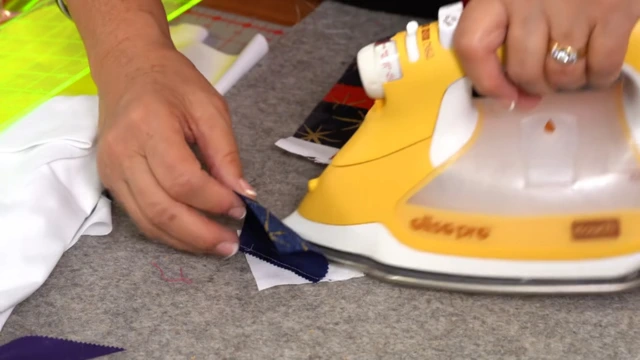
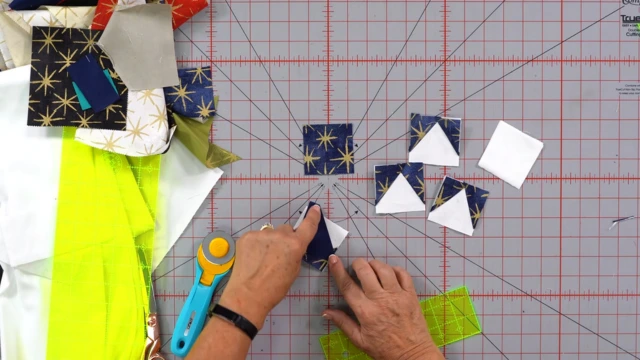
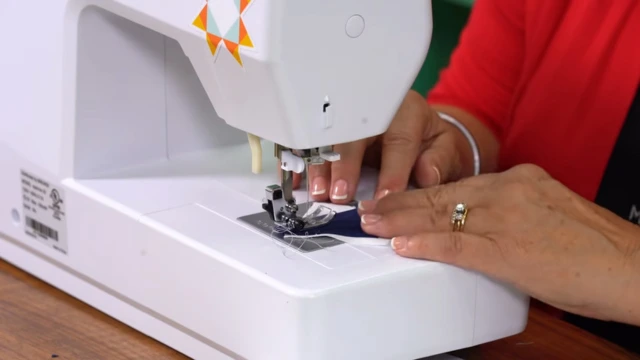
Jenny shows how to sew the legs onto the square, ensuring they cover the corners properly. Once all four legs are attached, the star is completed by adding regular squares in the corners.
Building the Christmas Tree
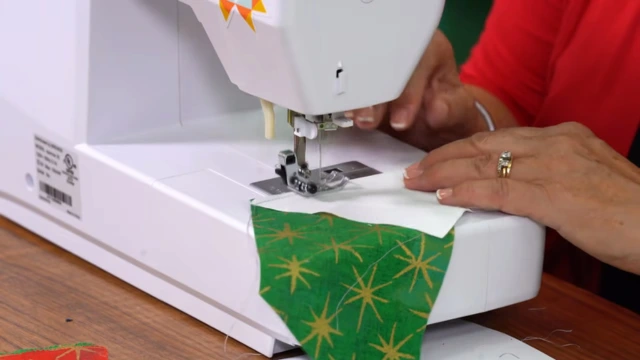
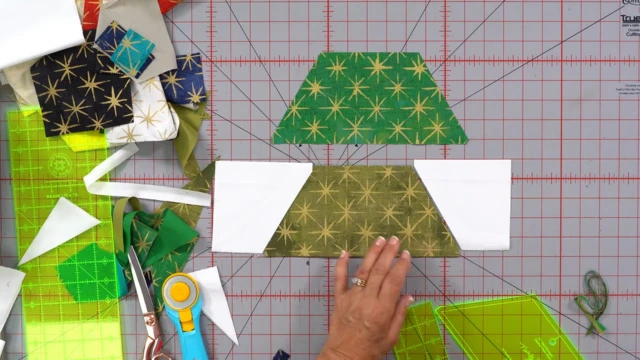
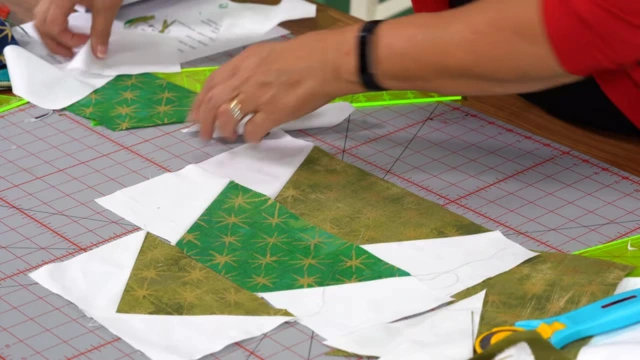
The Christmas tree is constructed using the half-hexi ruler. You’ll need five green half hexagons for the tree and flying geese block for the top.
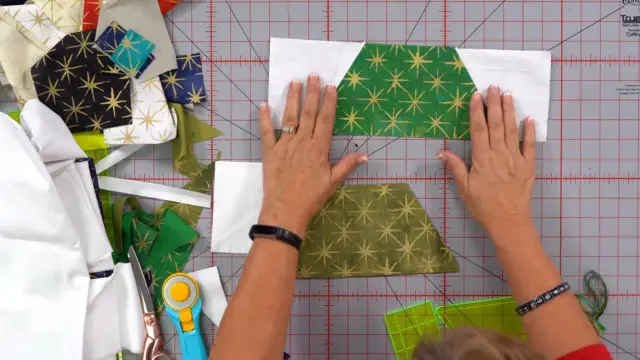
Jenny explains how to cut the pieces and sew them together, row by row. The trunk is a simple three-inch by ten-inch piece, making the tree easy to assemble.
Creating the Gnomes
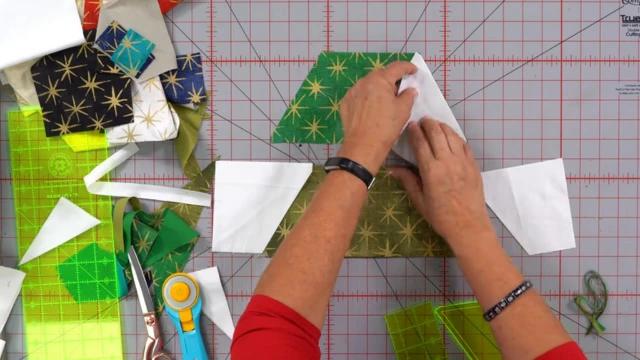
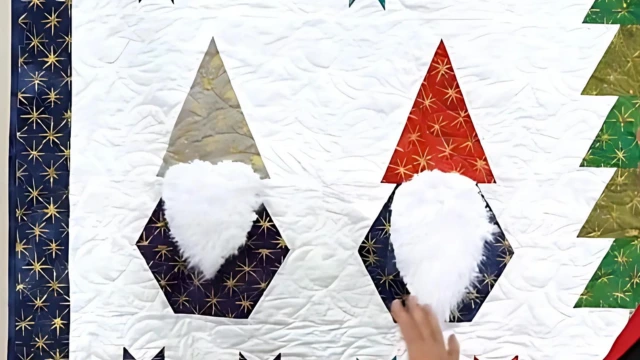
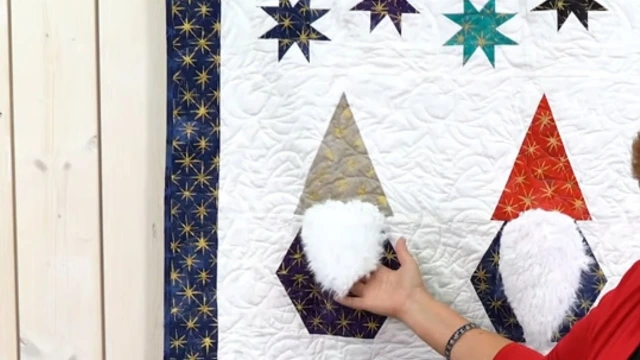
The gnomes are perhaps the most charming part of the wall hanging. Their bodies are made from two half hexagons sewn together, while their hats are cut using the simple wedge ruler.
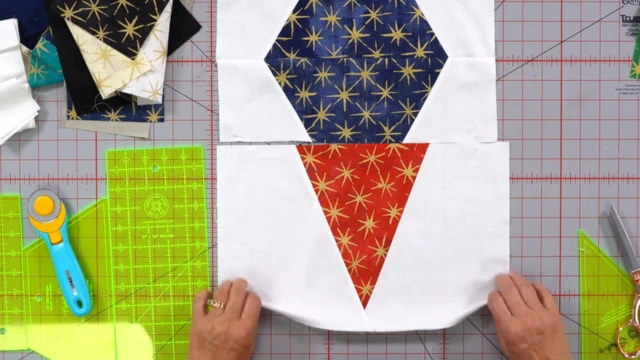
She shows how to set the hat into a square background, ensuring it aligns perfectly with the body. The gnomes’ beards are made from cuddle fabric or fake fur, adding a playful and tactile element to the quilt.
Assembling the Quilt
Once all the individual components are made, it’s time to assemble the quilt. Jenny suggests adding two-and-a-half-inch strips between the blocks to create a cohesive design.
The stars are arranged with alternating orientations to add movement, while the presents, trees, and gnomes are placed strategically to balance the overall composition.
Personalizing Your Quilt
One of the joys of quilting is the ability to personalize your projects. Jenny encourages quilters to experiment with different fabrics and colors.
For example, you can use different shades of green for the tree or add a belt to the gnomes for a unique touch.
The beards can also be customized with various types of fur or even repurposed materials like a coat collar from a thrift store.
Final Thoughts
This Christmas wall hanging is a delightful project that combines creativity, skill, and festive cheer. Jenny’s clear instructions and my helpful tips make it accessible for quilters of all levels.
So, gather your materials, set up your sewing machine, and get ready to create a beautiful Christmas wall hanging that will be cherished for years to come.
Leave a Reply