One of the standout features of this pattern is the use of super bulky weight yarn, which not only makes the pillow incredibly plush and soft but also allows for a quick and satisfying project. I recommend using Bernat Blanket yarn for its exceptional softness and coziness, making it the perfect choice for a pillow you’ll want to snuggle up with.
Materials You’ll Need
Before you get started, gather the following materials:
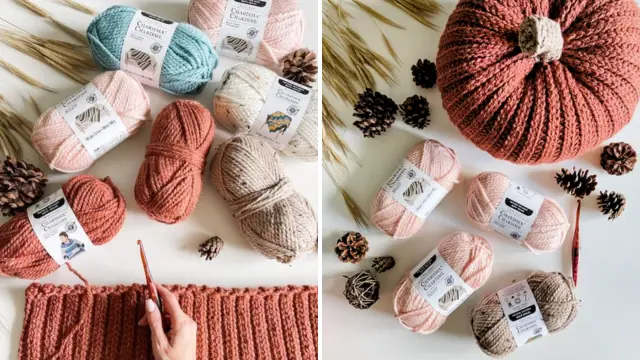
Yarn: Bernat Blanket Yarn in Sand (large pumpkin), White (small pumpkin), and Taupe (stem)
- Large Pumpkin: 220 yards
- Small Pumpkin: 125 yards
- Stem: 10 yards
Hook: 8.00mm crochet hook
Notions: Tapestry needle, poly filling
Pattern Overview
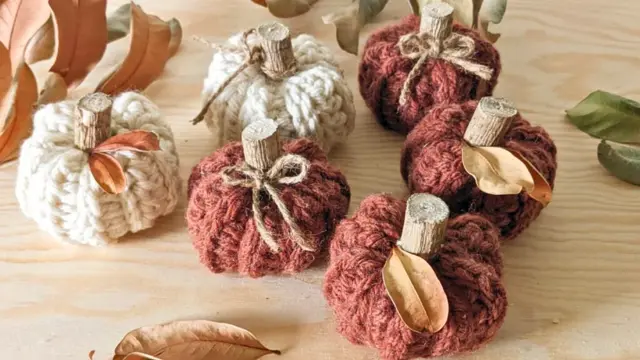
The pattern is written in standard American crochet terms and is suitable for beginners. Here’s a quick overview of the sizes and measurements:
Small Pumpkin:
- Diameter: 10 inches
- Height: 5 inches
Large Pumpkin:
- Diameter: 14 inches
- Height: 8 inches
The gauge is important to ensure your pumpkin turns out the right size. After three rounds following the pattern, the diameter should be approximately 4 inches.
Abbreviations to Know
- Sl st: Slip Stitch
- Ch: Chain
- Sc: Single Crochet
- Hhdc: Herringbone Half Double Crochet
- Hhdc tog: Herringbone Half Double Crochet Together
Small Pumpkin
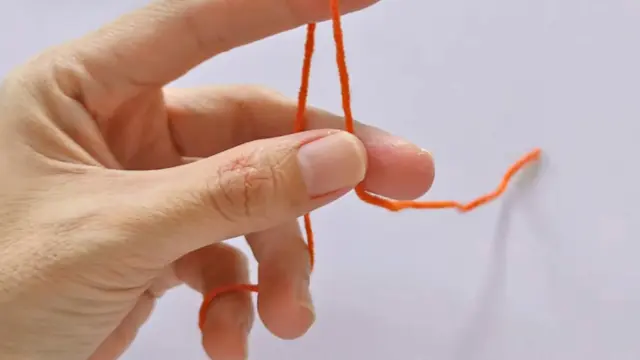
Start with a magic circle, ch 1.
Round 1:
- Start: Create a magic circle.
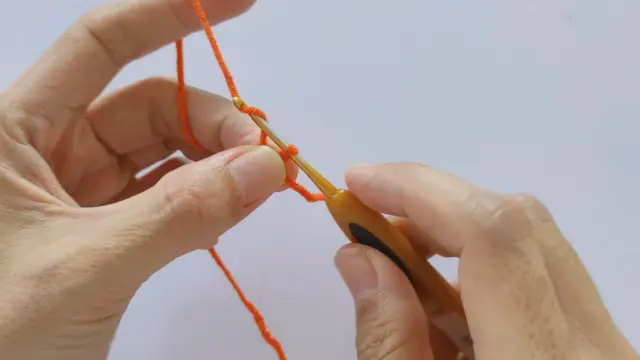
- Stitches: Crochet 8 half double crochets (hhdc) directly into the magic circle.
- End: Slip stitch into the first stitch, then chain 1.
Round 2:
- Increase: Crochet 2 half double crochets in each stitch of the previous round.
- Count: You should now have 16 stitches.
- End: Slip stitch into the first stitch, then chain 1.


Round 3:
- Pattern Repeat: Crochet 1 half double crochet in the first stitch, then 2 half double crochets in the next stitch. Repeat this pattern around the entire round.
- Count: You should now have 24 stitches.
- End: Slip stitch into the first stitch, then chain 1.
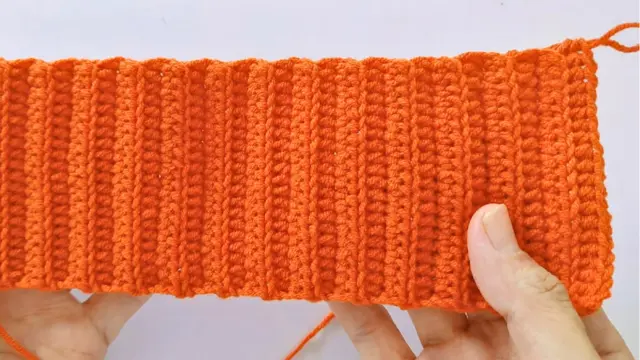
Rounds 4-7:
- Pattern Repeat: Continue the pattern of increasing every other stitch. The number of stitches in each round will increase by 8.
- End: Slip stitch into the first stitch, then chain 1.
Rounds 8-16:
- No Increase: Crochet 1 half double crochet in every stitch of the previous round.
- End: Slip stitch into the first stitch, then chain 1.
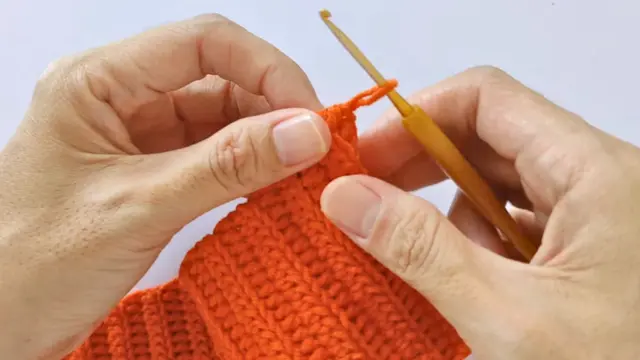

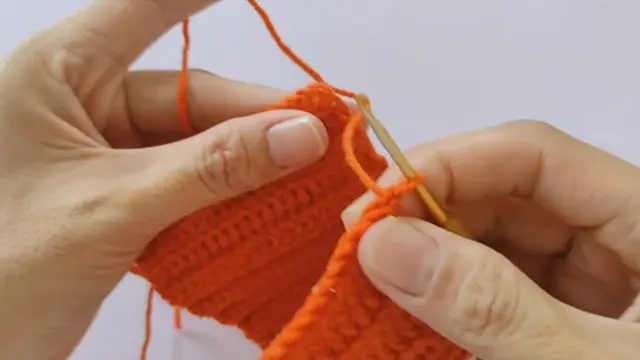
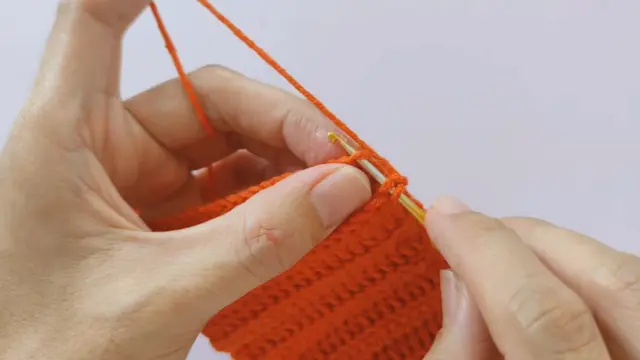
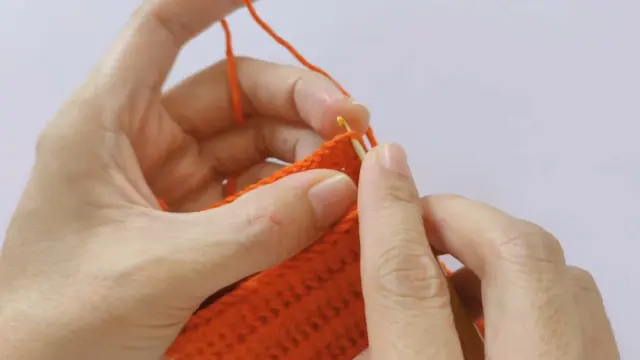


Round 17:
- Decrease: Crochet 1 half double crochet in the first 5 stitches, then decrease by crocheting 1 half double crochet together in the next 2 stitches. Repeat this pattern around the entire round.
- Count: You should now have 48 stitches.
- End: Slip stitch into the first stitch, then chain 1.
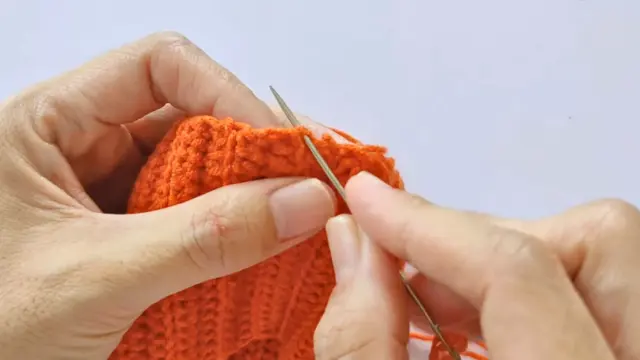
Rounds 18-20:
- Continue Decreasing: Continue the pattern of decreasing every other stitch, reducing the number of stitches in each round.
- End: Slip stitch into the first stitch, then chain 1.
Note: At this point, it’s recommended to stuff the pumpkin.
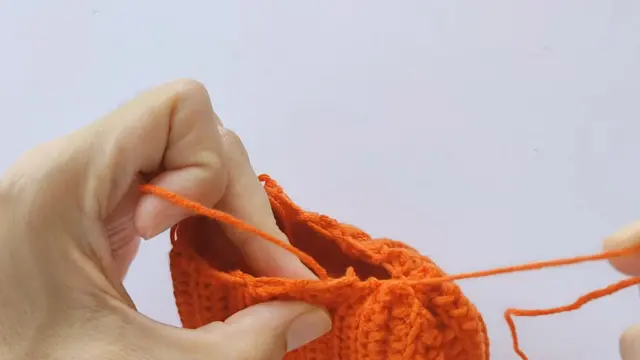
Round 21:
- Final Decrease: Crochet 1 half double crochet in the first stitch, then decrease by crocheting 1 half double crochet together in the next 2 stitches. Repeat this pattern around the entire round.
- Count: You should now have 16 stitches.
- End: Slip stitch into the first stitch, then chain 1.
Round 22:
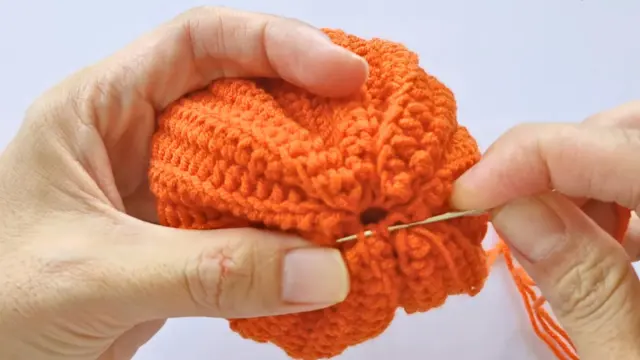
- Close: Crochet half double crochets together around the entire round until you have 8 stitches.
- End: Slip stitch into the first stitch, then chain 1.
Large Pumpkin
The large pumpkin follows a similar pattern with additional rounds to increase the size. Follow the same steps as the small pumpkin, but continue increasing until you reach 72 sts in Round 9. Then, work even rounds until Round 23 before starting the decrease rounds.
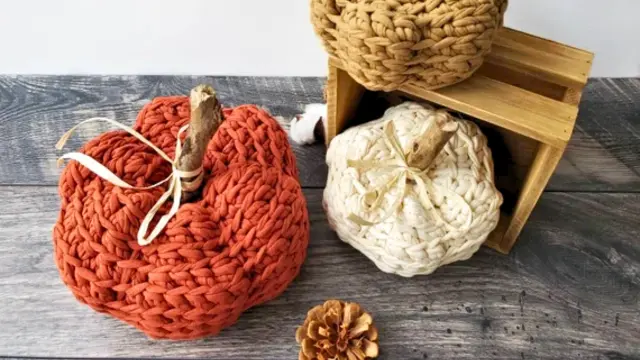
Stem
- Make a magic circle, ch 1.
- Round 1: Work 8 sc into the magic circle (8 sts). You will be working in a continuous spiral.
- Round 2: Work 1 sc in every st (8 sts).
Repeat Round 2 for a total of 7 rounds for the small pumpkin and 10 rounds for the large pumpkin. Fasten off, leaving a tail for sewing the stem to the pumpkin. Stuff the stem.
Assembly
Whipstitch the stem to the pumpkin.
To make the indentations, Insert the needle through the bottom center, pull up through the top center, and pull slightly to create a more defined indentation. Evenly work a total of 6 indentations around the pumpkin.
Weave in loose ends.
Leave a Reply