If you’ve ever admired those intricate designs on handmade quilts but thought they were beyond your reach, you’ll be pleased to know that this decorative technique isn’t as complex as it appears. Whether you’re looking to embellish a simple quilt or create an heirloom piece, appliqué quilting offers endless possibilities for creative expression. Let’s explore the essential steps that’ll transform you from a curious beginner into a confident quilter who can bring any design to life.
What Is Applique Quilting
Picture a fabric canvas where decorative pieces tell a story through layers of color and texture. That’s the essence of appliqué quilting, a textile craft where you’ll sew smaller pieces of fabric onto a larger background to create stunning decorative effects and patterns. When you practice appliqué quilting, you’re participating in an art form that dates back to ancient civilizations, from Egypt to India.
You’ll find that appliqué quilting offers various methods to achieve your desired results. Whether you choose to iron your fabric pieces using adhesive, work with interfacing on the wrong side, or opt for machine stitching, each technique brings its own advantages. The basic process involves securing smaller fabric elements onto your background piece, where they’ll form images, patterns, or designs of your choosing. This method offers more artistic freedom than traditional pieced quilts.
You can approach appliqué quilting through both hand and machine stitching techniques. While hand stitching gives you precise control over your work, machine stitching provides durability and efficiency. For beginners, you’ll want to start with simple shapes and patterns, gradually working your way up to more complex designs as you master the fundamentals of this versatile craft.
Essential Tools and Materials
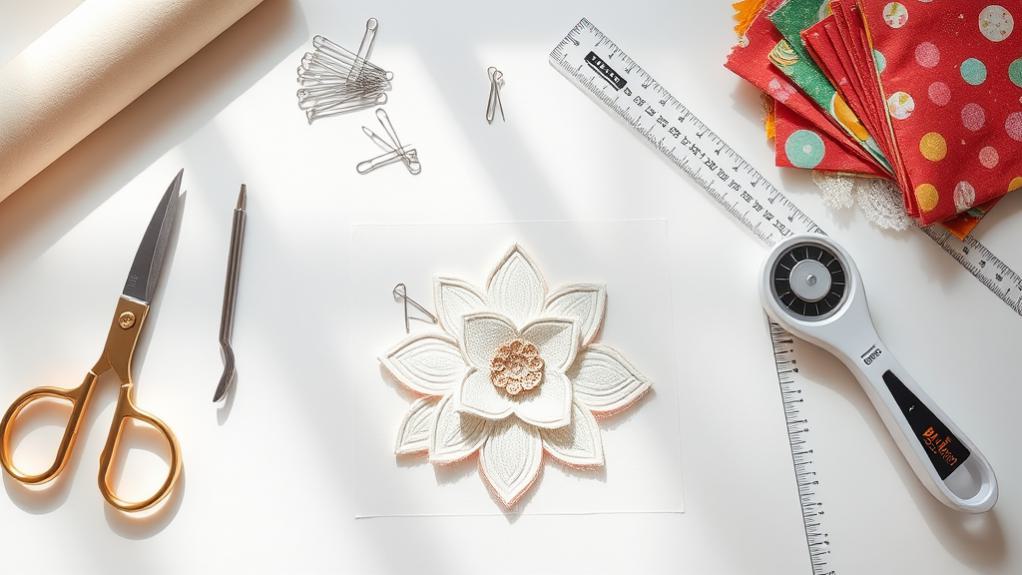
Success in appliqué quilting starts with having the right tools and materials at your fingertips. You’ll need a reliable sewing machine as your primary tool, along with sharp scissors and a rotary cutter with a cutting mat for precise fabric cutting. Don’t forget a seam ripper for corrections and an iron with ironing board for pressing. Spray starch can provide additional stability when preparing your fabrics.
For creating appliqué pieces, you’ll want to stock up on lightweight fusible interfacing and fusible web to secure your layers. Templates and freezer paper will help you transfer and cut accurate shapes, while fabric markers guarantee proper placement.
To secure your work, you’ll need safety pins or specialized appliqué pins before moving on to stitching. Use appliqué needles for hand work or an appliqué presser foot for machine stitching. Keep thread snippers nearby for quick trimming.
For maximum precision, invest in a quilt ruler and clear acrylic rulers to measure and align your pieces accurately. A template maker can help create custom shapes, while appliqué glue sticks and basting spray offer temporary holding solutions as you work on your project.
Choosing Your Fabric
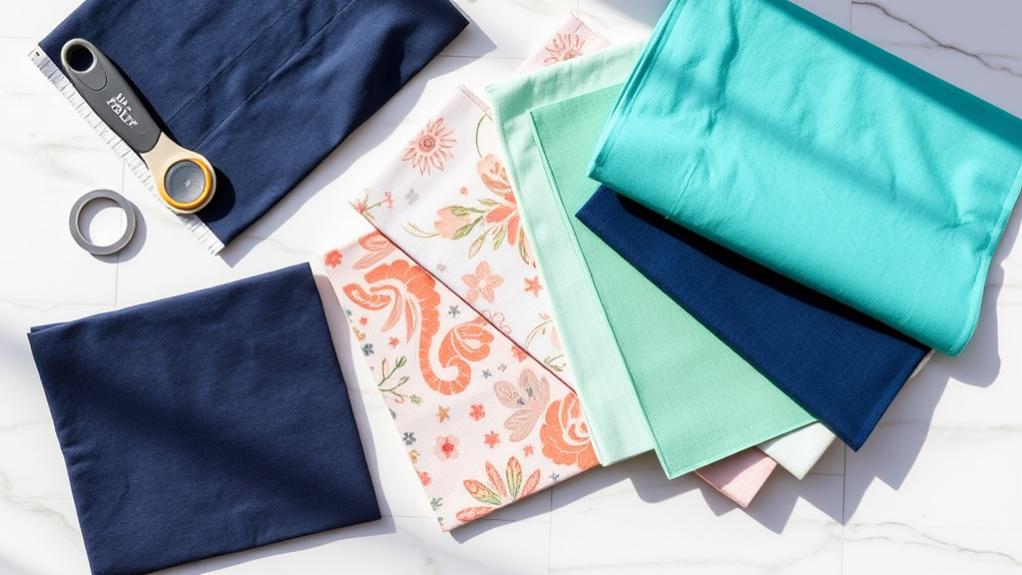
With appliqué quilting, choosing the right fabric makes all the difference in your final project. You’ll want to select a light to medium-weight background fabric with a firm weave, such as cotton, linen, or quilting cotton. Batiks are particularly suitable due to their higher thread count. Before starting, pre-wash your background fabric and press starch into it for a firmer hand.
For your appliqué pieces, you’ll need small fabric scraps no larger than 12 inches square. Stick to natural fibers like 100% cotton, muslin, linen, silk, or wool. You can even repurpose old woolen blankets for a unique touch. Just make sure your chosen fabrics are compatible with fusible adhesives.
To prepare your fabric, spray starch on it before cutting shapes to increase stability. You can use tools like the AccuQuilt Go for precise cuts. Remember to trim seam allowances close to the stitching to prevent bulk. Avoid heavy fabrics, as they’re harder to work with and may not adhere well. When selecting colors, choose a background that complements your appliqué shapes – solids or subtle prints work best to let your design stand out.
Preparing Your Applique Design
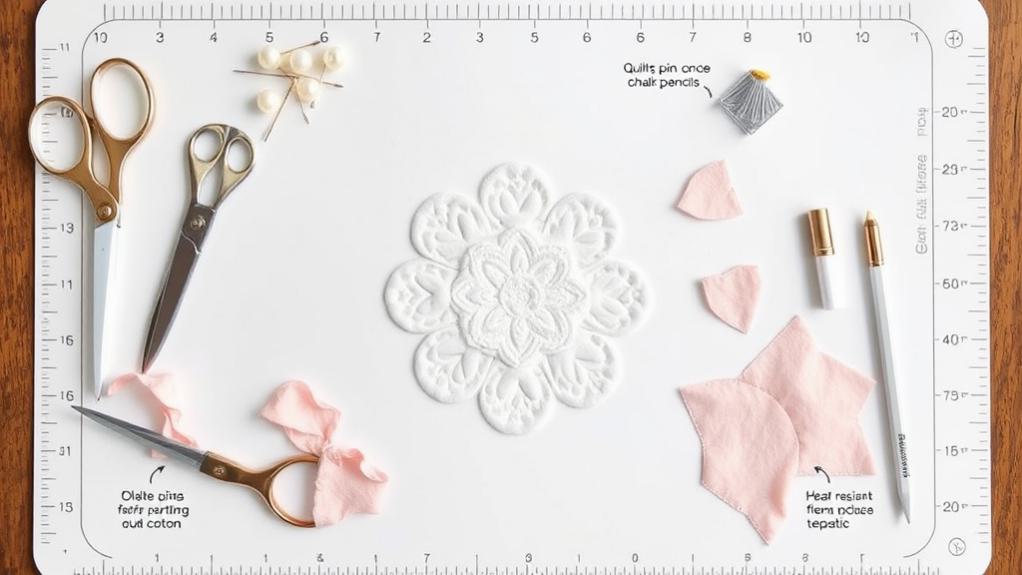
Before diving into the stitching process, you’ll need to carefully prepare your appliqué design using templates and proper transfer techniques. Start by creating your template on paper or cardstock, either drawing your desired shape or using an existing pattern. If you’re working with a specific layout guide, incorporate those specifications into your template design.
When transferring your design, select the appropriate method based on your fabric color. For light fabrics, you can use a light source for tracing, securing your template with painter’s tape and marking with a heat-erasable pen. If you’re working with darker fabrics, white transfer paper works best. Always test your chosen method on a fabric scrap first.
Cut your appliqué pieces with sharp scissors, making them slightly larger than the template to account for potential fraying. If you’re using interfacing, pair it with your fabric right sides together and pin before cutting. Finally, arrange and pin your prepared pieces onto the background fabric according to your design layout. Press them in place and double-check their positioning before moving on to the sewing stage.
Basic Stitching Methods
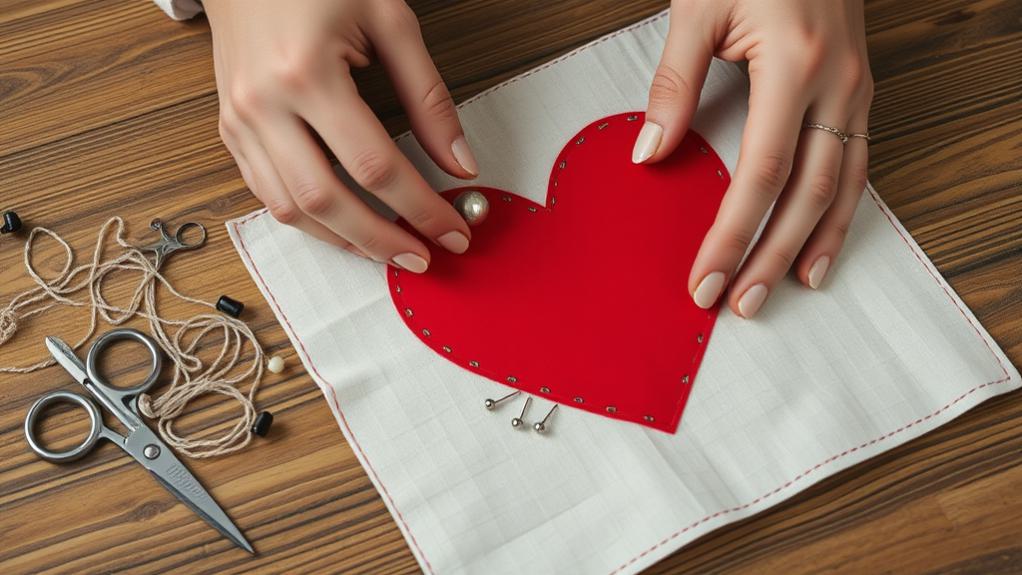
Now that your appliqué pieces are properly positioned, mastering the basic stitching methods will bring your design to life. The Blanket Stitch is a popular choice that creates a defined edge with a straight stitch along the outside and perpendicular stitches into the shape. When using this stitch, make sure the “bite” goes to the left of the straight stitch to avoid errors.
Before you begin stitching, pull your bobbin thread to the top and anchor it with a locking stitch to prevent thread nests. You’ll find that your machine may offer several blanket stitch variations, including thicker options that look hand-stitched. If you’re seeking a simpler alternative, try the Narrow Zig Zag Stitch, which works particularly well for corners and points.
Your thread choice will greatly impact the final look. Use 100 wt thread for nearly invisible stitching, 50 wt for general appliqué work, or 40 wt when you want bolder, more visible stitches. For decorative effects, consider variegated threads in 50 or 40 wt. Remember to use the appropriate needle size – typically size 10 or 11 – to match your chosen thread weight.
Troubleshooting Common Problems
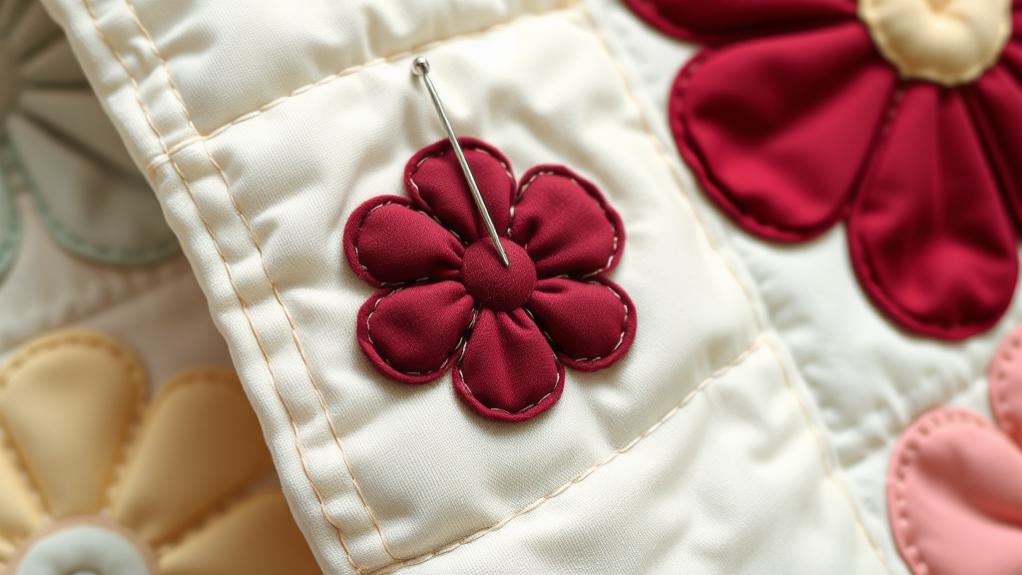
Despite careful preparation, appliqué quilters often encounter several common challenges that can affect their project’s outcome. You’ll find that most issues fall into categories like uneven edges, thread tension problems, or fabric distortion. By understanding these challenges and their solutions, you can tackle them effectively.
- Use quality fusible web and cut blocks slightly larger than needed to manage uneven edges. You can also incorporate free motion quilting to cover any inconsistencies in your stitching.
- When dealing with thread issues, adjust your machine’s tension settings and use matching colored cotton thread in the bobbin. Test your appliqué patches first and write down the ideal settings for future reference.
To prevent fabric distortion, always sew your appliqué pieces before assembling the quilt sandwich. Apply stabilizers and spray your shapes with Best Press, ironing them dry for added stability. If you make mistakes along the way, don’t worry – you can often cover them with additional appliqué pieces or creative free motion quilting. Using a walking foot and fresh needle will greatly improve your stitching accuracy and help prevent future errors.
Frequently Asked Questions
How Long Should I Expect My First Appliqué Project to Take?
Like a first-time gardener tending seedlings, you’ll need patience. Plan for 15-20 hours spread across 2-3 weeks, but don’t rush – your confidence and skill will grow naturally.
Can I Appliqué Over Existing Embroidery or Quilting Designs?
While you can appliqué over existing designs, it’s challenging and not recommended. You’ll face tension issues, extra bulk under your machine, and the result won’t be as polished or professional.
Is It Necessary to Prewash Fabrics Specifically for Appliqué Work?
You’ll want to prewash fabrics for appliqué unless you’re using batiks or small pieces. It prevents color bleeding, shrinkage issues, and removes chemicals that could affect your final project.
Which Appliqué Methods Work Best for Stretchy or Delicate Fabrics?
Picture delicate fabric flowing like silk – you’ll want fusible web for stretchy materials, as it provides stable support. Raw edge works well for delicate pieces, while needle turn gives precise control.
How Do Different Climates Affect the Adhesives Used in Appliqué?
You’ll need different adhesives for varying climates: use moisture-resistant options in humid areas, store adhesives in heated spaces during cold weather, and guarantee your workspace is dry in rainy conditions.
Leave a Reply