Lauren here from Quilt trails community. Today, I’m gonna share a delightful and beginner-friendly sewing project. We’re going to make a super soft and cozy rag quilt, a fantastic gift idea and a wonderful addition to any home.
So let’s start with the necessary materials:
Materials You’ll Need
Before we dive into the steps, let’s gather all the materials you’ll need for this project:
- Fabric: Choose at least five different patterned fabrics. You can also use solids if you prefer. For the backing, you can either use one of your front fabrics or select a different one. I chose a solid pink, soft, fluffy material for my backing.
- Fleece: This will go in the middle of your quilt sandwiches.
- Rotary Trimmer or Scissors: A rotary trimmer is highly recommended for precise cuts.
- Snippers: These are essential for cutting the rag edges.
- Pins: To hold your fabric pieces together.
- Thread: High-quality cotton thread works best.
- Sewing Machine: A must-have for stitching your quilt.
- Ruler: An acrylic see-through quilting ruler is ideal for measuring and cutting your squares.
1. Cut Your Fabric
For this project, I aimed to fit the quilt on a twin-size bed, making it five squares across and seven squares down, with each square measuring 10×10 inches. Here’s how to get started:
- Front Fabric: Choose five different fabrics and get about 2/3 of a yard of each.
- Backing Fabric: Get enough fabric to cover the back of your quilt. I used about 2.5 yards to ensure I had extra in case of mistakes.
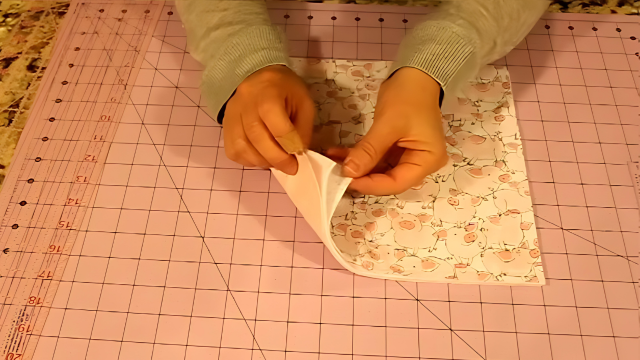
Lay your fabric on a cutting mat, and cut all your pieces into 10×10 squares. It’s easiest to cut all three layers (front, fleece, and back) at once to ensure they match perfectly.
2. Time for Quilt Sandwiches
Create your quilt sandwiches by layering your fabrics as follows:
- Bottom Layer: Backing fabric, right side down.
- Middle Layer: Fleece.
- Top Layer: Front fabric, right side up.
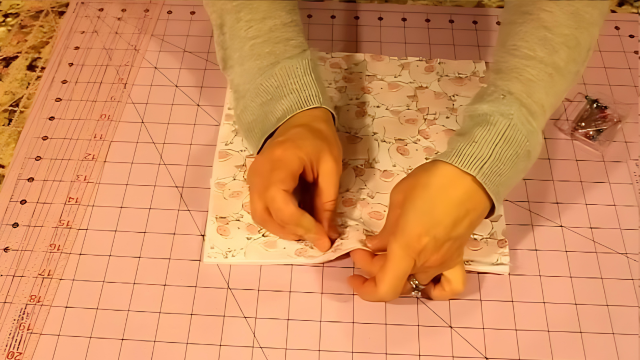
Pin each sandwich together to hold the layers in place.
3. Laying Out Your Quilt
Lay out your quilt sandwiches on a large surface, like the floor, and arrange them until you’re happy with the layout.
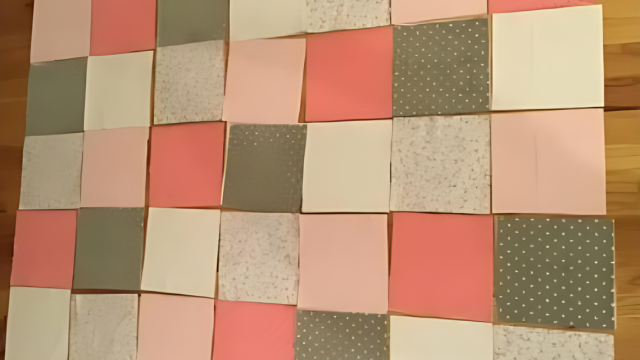
If you’re using a fabric with a nap (like my soft, furry material), make sure the grain is going in the same direction for a smooth finish.
4. Sewing the X’s
Take your quilt sandwiches to the sewing machine and stitch an X across each square.
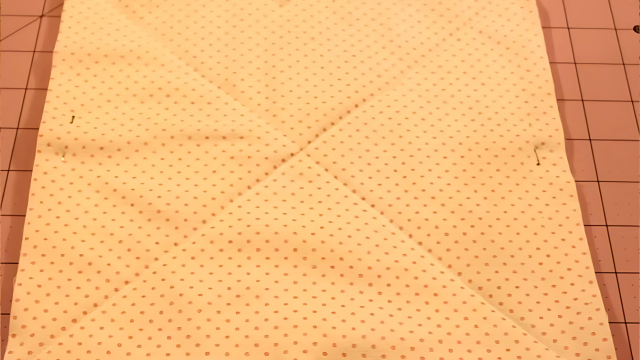
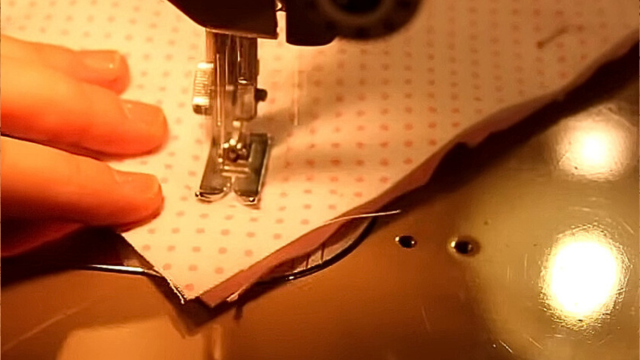
This step secures the layers together.
If your fabric is thick, consider using a walking foot to help feed the fabric through the machine evenly.
5. Assembling Rows
Once all your squares have X’s, lay them out again to ensure you like the arrangement.
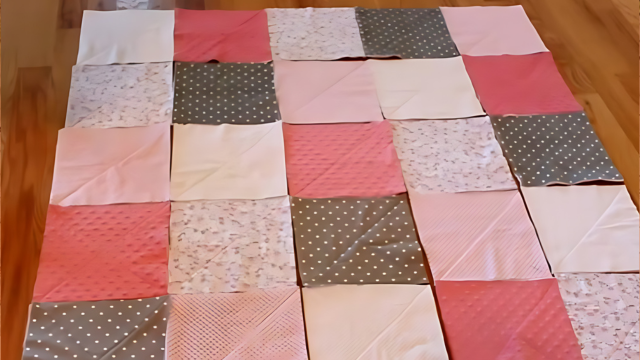
Then, start sewing the squares together to form rows. Pin two squares together, right sides facing out, and sew a 3/4 inch seam.
Continue adding squares until you complete the row. Repeat for all rows.
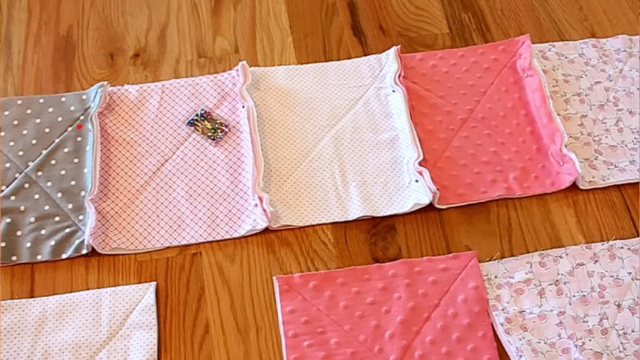
6. Joining the Rows
Next, sew the rows together. Align the seams and pin the rows, then sew a 3/4 inch seam along the edges. Make sure to lay the seams flat to distribute the bulk evenly.
Check the nap direction while joining rows.
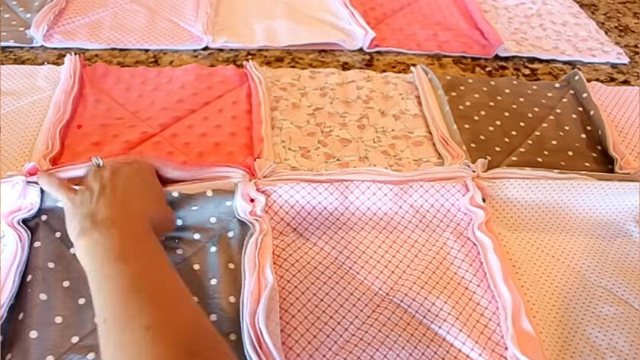
7. Finishing the Edges
After all the rows are joined, sew around the entire edge of the quilt with a 3/4-inch seam. This step ensures the edges will rag nicely.
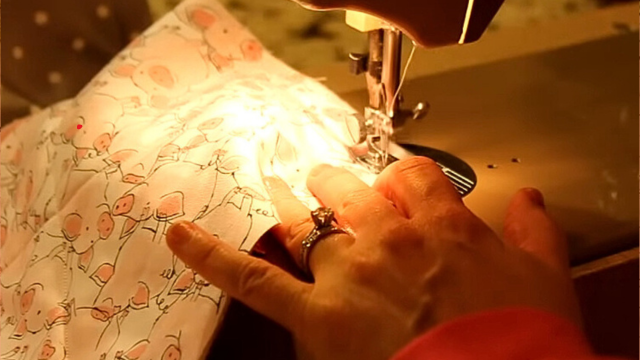
8. Snipping the Seams
Now comes the fun part—snipping the seams!
Use sharp snippers to cut little fringes about 1/4 to 1/2 inch apart along all the seams, being careful not to cut through your stitching.
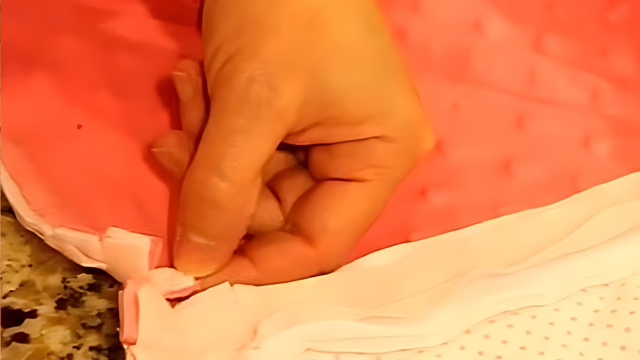
9. Washing and Drying
To achieve the ragged look, wash your quilt in cold water to keep the fabric soft. Then, dry it on low heat. This process will fray the edges and give your quilt that cozy, ragged appearance.
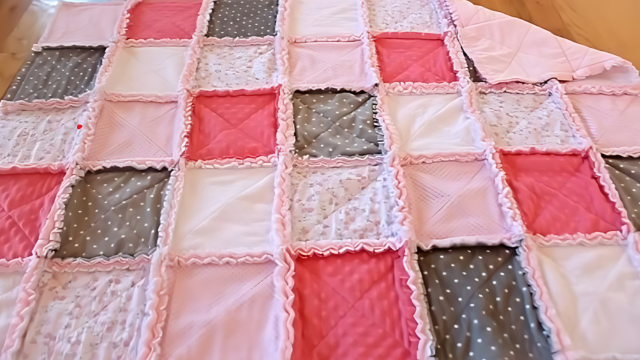
Final Thoughts
The end result is a beautiful, soft, and cozy quilt that’s sure to be cherished. Whether you’re making it for yourself or as a gift, the recipient will undoubtedly appreciate the love and effort you put into it.
Leave a Reply