Create a cozy Christmas rag quilt that’s perfect for snuggling during the holidays! This beginner-friendly project features fun prints, soft flannel, and frayed edges that give it a “lived in” look, and can be completed in just a few hours instead of days.

Materials Needed
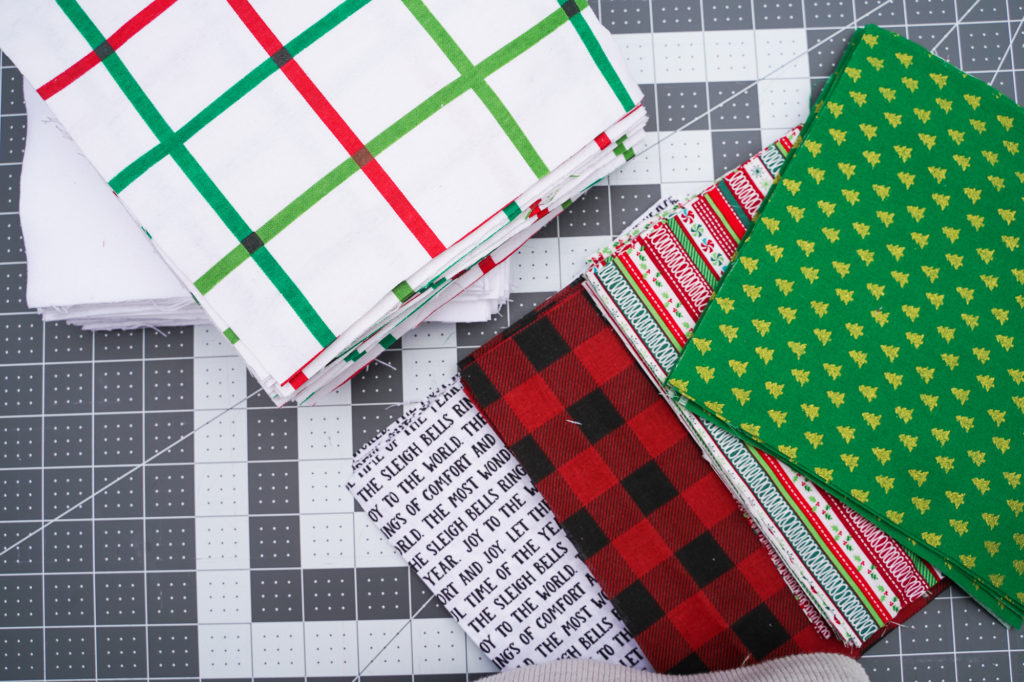
For a large throw quilt (approximately 7×9 blocks), you’ll need:
- Top layer: 3+ yards total of cotton print (1 yard each of 3 prints, plus 1/2 yard of a 4th print)
- Middle layer: 3 yards of basic flannel
- Backing layer: 3 yards of cozy holiday flannel
Additional supplies:
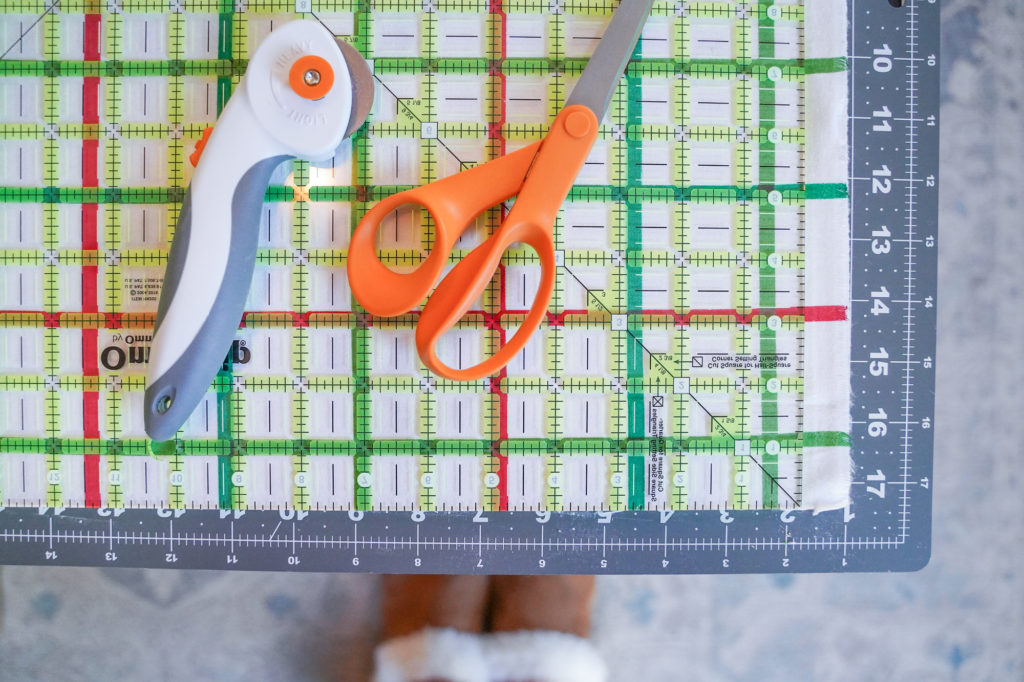
- Quilting ruler
- Rotary cutter
- Cutting mat
- Sewing machine with walking foot
- Spring-loaded scissors
- Thread
- Fabric marker or chalk
Step-by-Step Instructions
Step 1: Cut All Fabric Into 8″ Squares
Cut all fabric into 8-inch squares. For a 7×9 square blanket, you’ll need:
- 63 squares of backing fabric
- 63 squares of middle fabric
- 18 squares each of top fabrics A, B, and C
- 9 squares of top fabric D
Pro tip: Use a quilting ruler to save time – line up fabric with the ruled lines and run a rotary cutter along the edges.
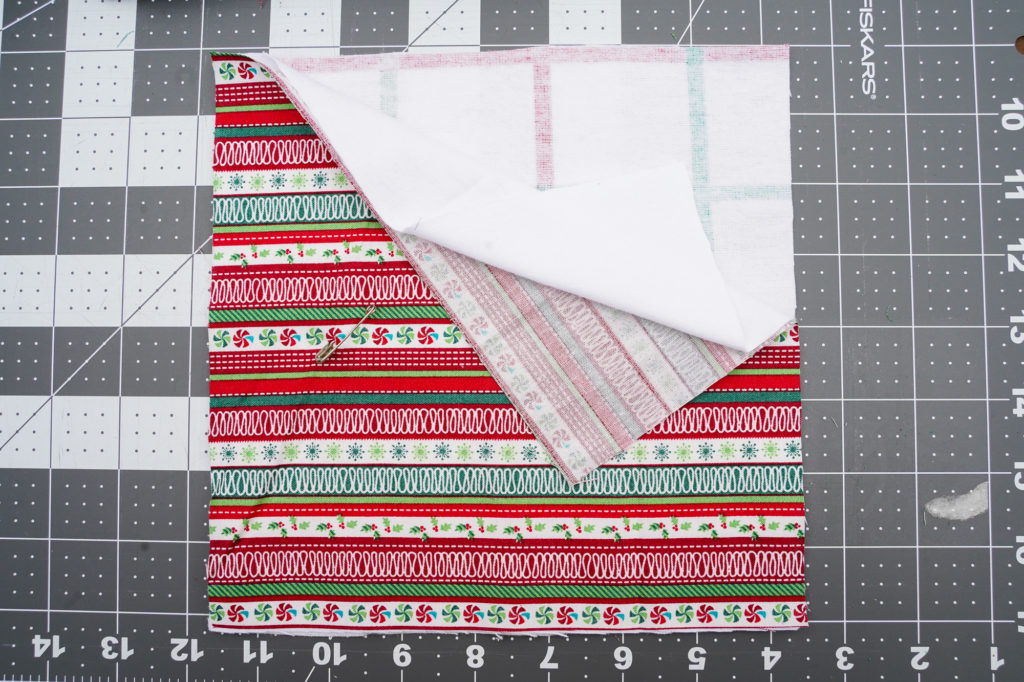
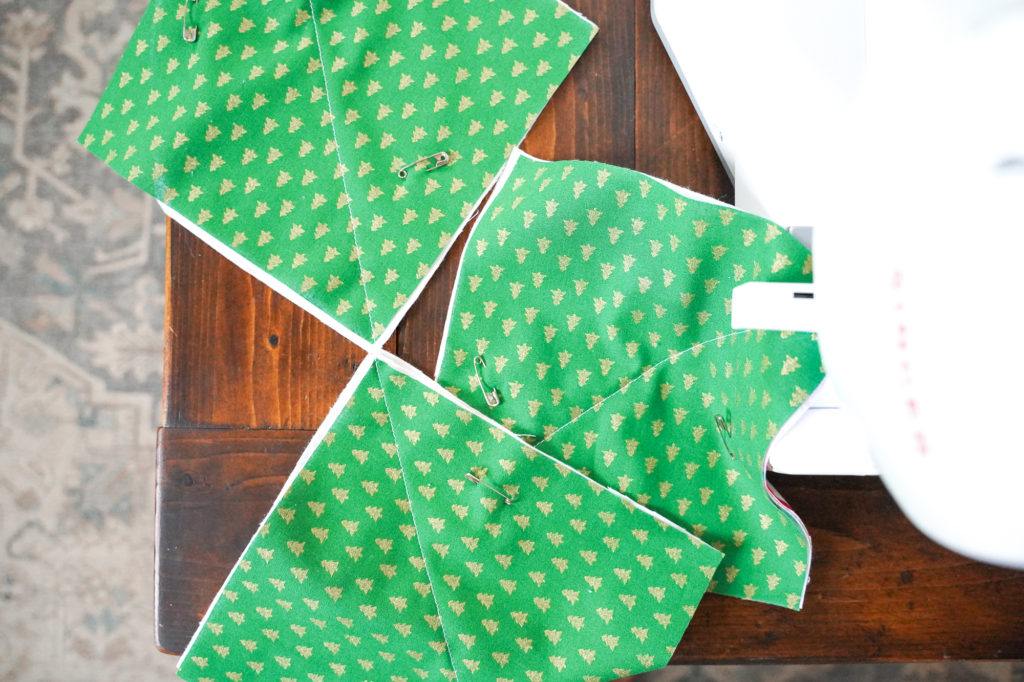
Step 2: Create Quilt Sandwiches
Layer your squares:
- Place backing fabric right side DOWN
- Add middle flannel layer on top
- Place top fabric right side UP
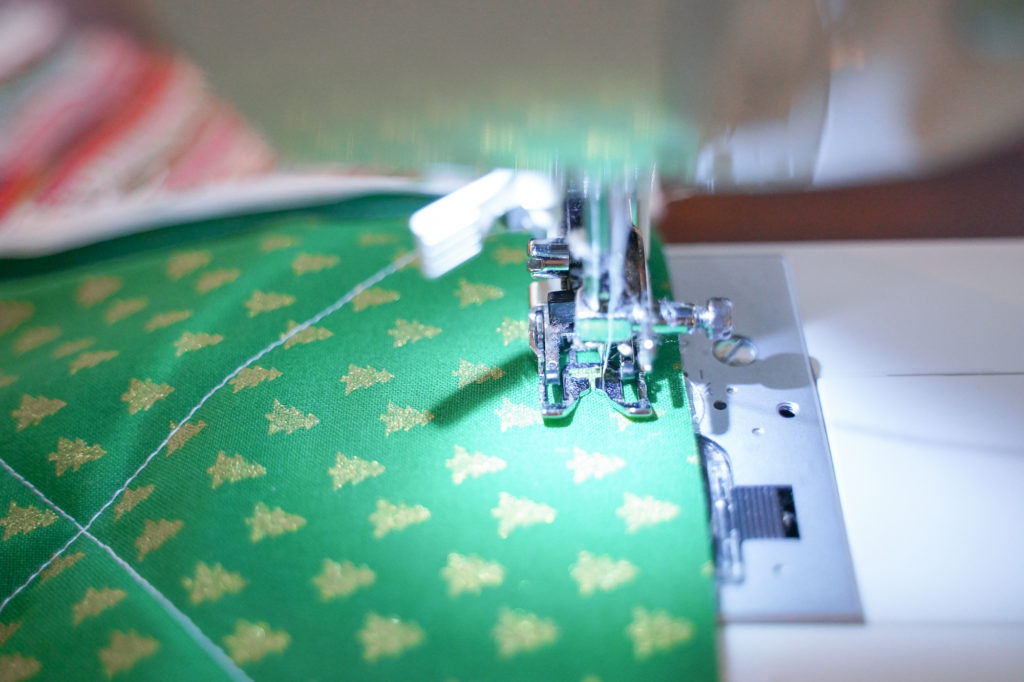
Step 3: Quilt the Blocks
Mark diagonal lines from corner to corner using fabric marker or by pressing with an iron. Sew along these lines to create an “X” pattern on each block.
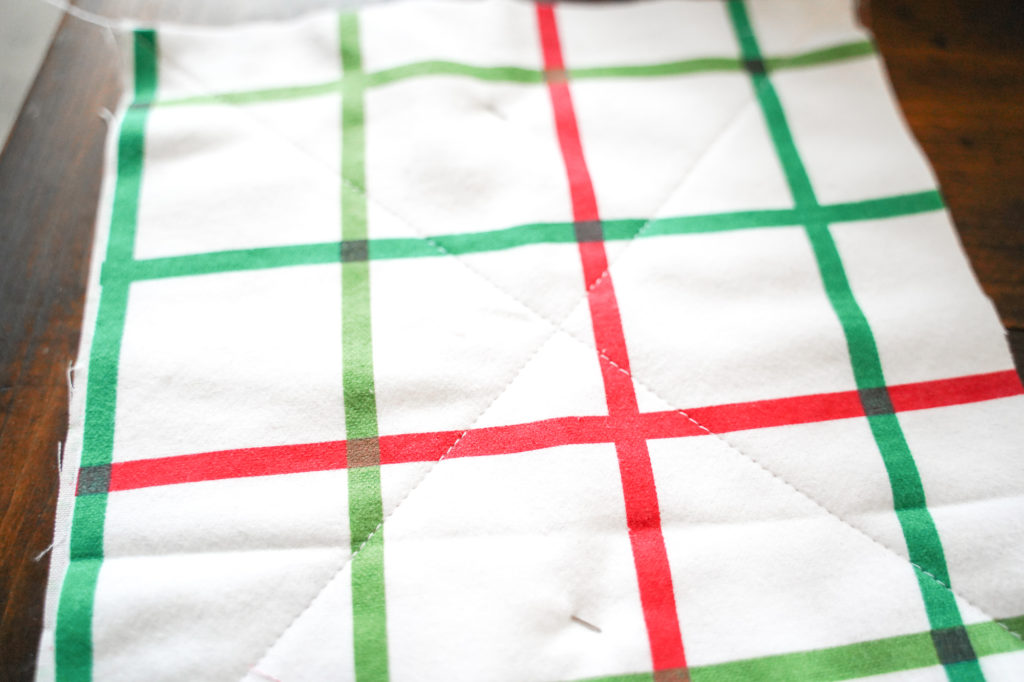
Time-saving tip: Chain-piece all squares along one diagonal, cut apart, then chain-piece the opposite diagonal to complete the X pattern.
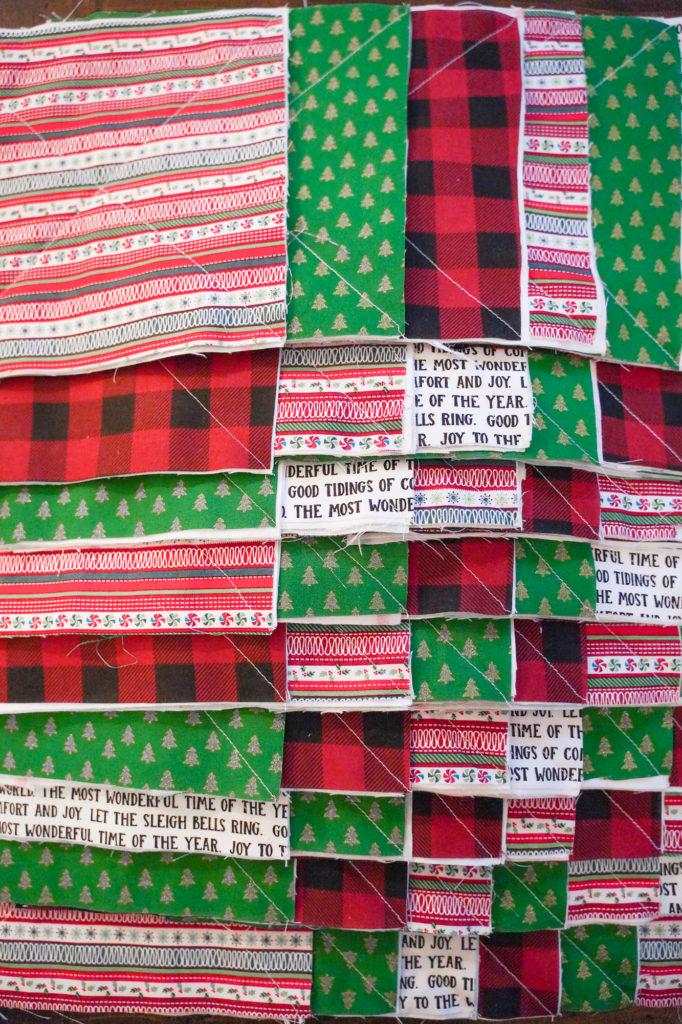
Step 4: Plan Your Quilt Design
Arrange your 63 quilted blocks in a 7×9 grid pattern. Take a photo for reference, then stack each row in order.
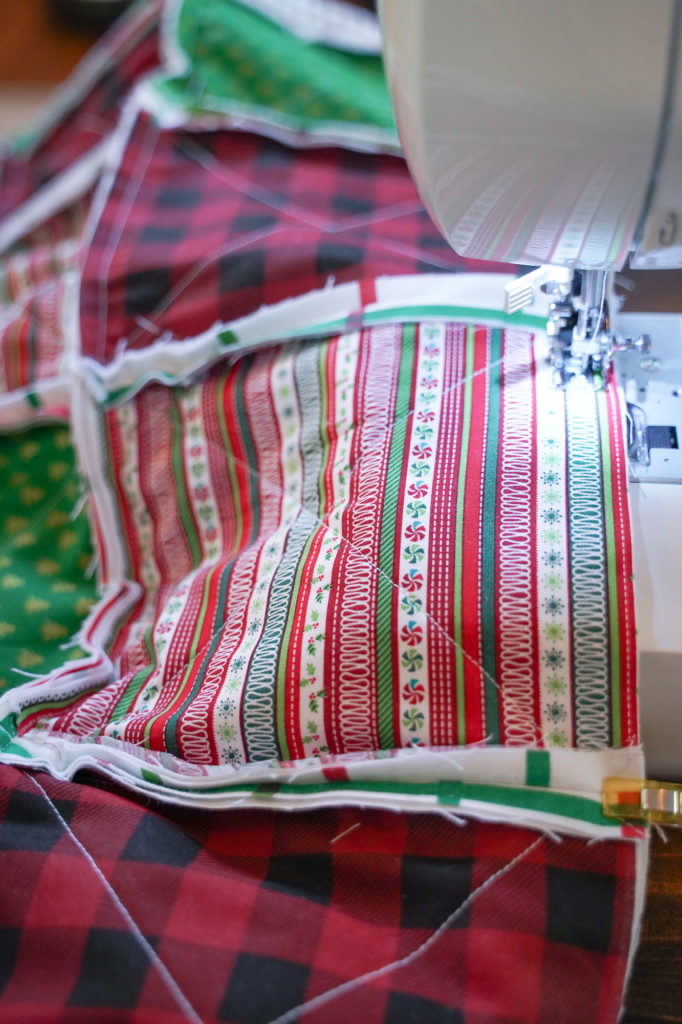
Step 5: Assemble the Rows
Sew blocks for each row together with WRONG SIDES TOGETHER using a 1/2″ seam allowance. This exposed seam creates the raggy look. You’ll have 9 rows of 7 blocks each.
Step 6: Connect the Rows
Attach rows together, wrong sides facing. Press seams open and pin flat before sewing. Use the same 1/2″ seam allowance.
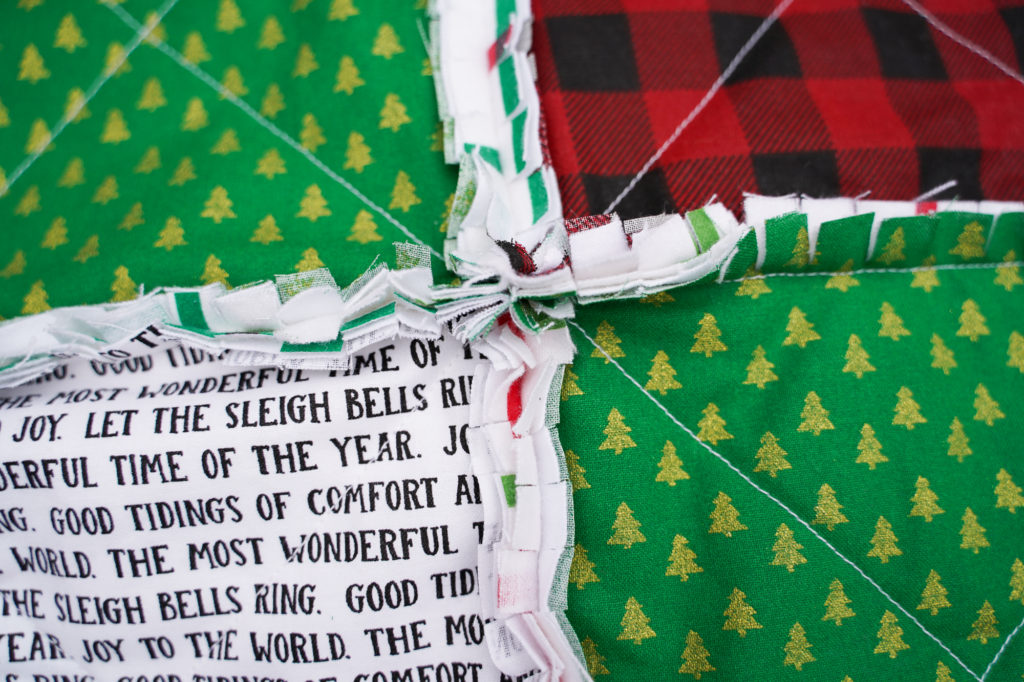
Step 7: Stitch the Edges
Sew around the entire perimeter of your assembled quilt with a 1/2″ seam allowance. Press row seams open and pin flat as you go.
Step 8: Clip the Seams
Cut every 1/2″ along ALL seam lines including the outside edge, being careful not to cut the stitches. Spring-loaded scissors make this step much easier!
Step 9: Wash for the Raggy Look
Wash your quilt on a normal, color-safe cycle with a few towels. The more you wash it and the closer your clips, the more frayed it will appear. Trim any long threads at corners where blocks meet.
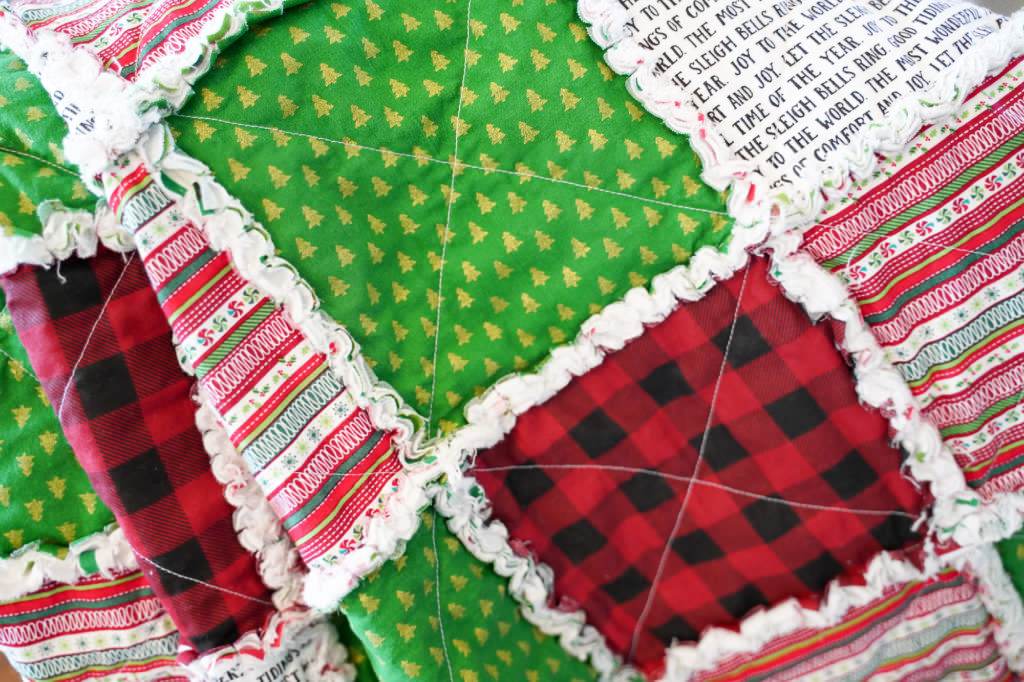
Final Result
Your beautiful Christmas rag quilt is complete!
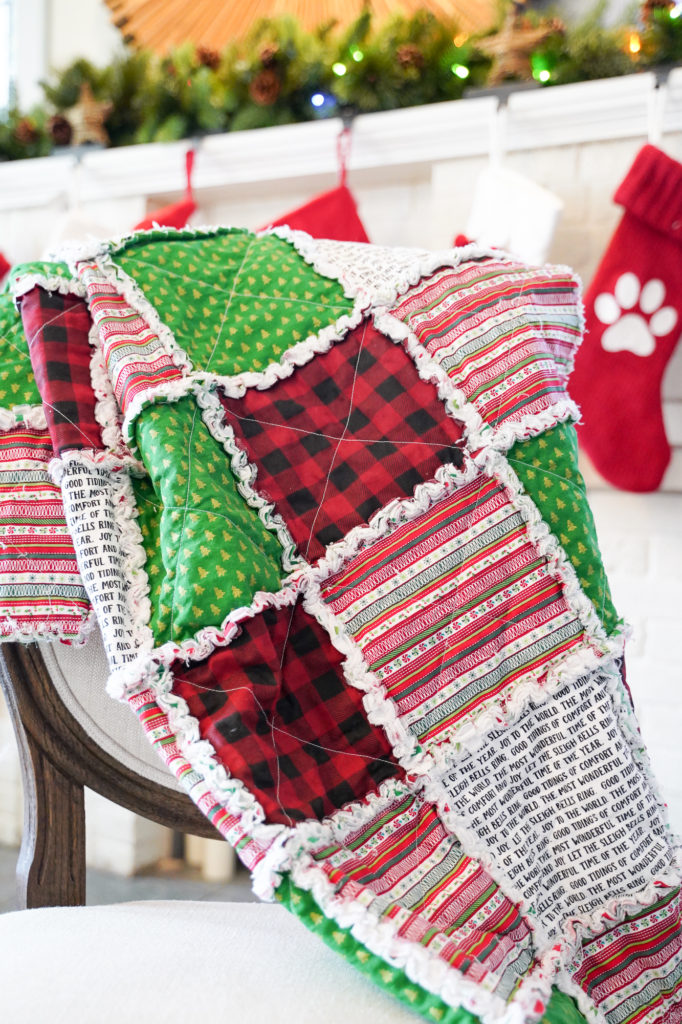
This entire project can be completed over a few evenings, making it perfect for a last-minute holiday gift or cozy addition to your Christmas decor!
Pro Tips for Success
- Choose flannel fabrics for the best fraying effect
- Use a walking foot on your sewing machine for easier handling of multiple layers
- Don’t skip the washing step – it’s essential for achieving the signature raggy look
- Consider making smaller lap-size versions as gifts by reducing the number of blocks
Happy quilting and enjoy your cozy Christmas creation!
Leave a Reply